Modify Baofeng Speaker for (tr)uSDX
The feedback squealing on volume settings above 11 or 12 is can be annoying, so I quite liked the idea of Modifying a Cheap Baofeng Speaker Mic for (tr)uSDX Use by WA2T.
Whence I bought some cheap Baofeng handheld speaker/mics. In my first attempt I cut a 3.5mm stereo cable in half, but I gave up soon because the wires in the cable were just too thin and flimsy to handle. In my second attempt I used two 3.5mm connectors I had lying around. That was disappointing, too, because I kept measuring shorts when I bent the cables too much. After a while I got fed up with my ugly cable assemblies so I decided to just 3D-print a plug that fits nicely into the (tr)uSDX, and that may actually survive a field day.
Note that the Baofeng mics seem to have 8Ω speakers instead of the 32Ω speaker in the default kit. You may have to crank the volume on the TRX to max.
Build
- 10x Stereo 3.5mm Connectors from Aliexpress for about 4$+shipping
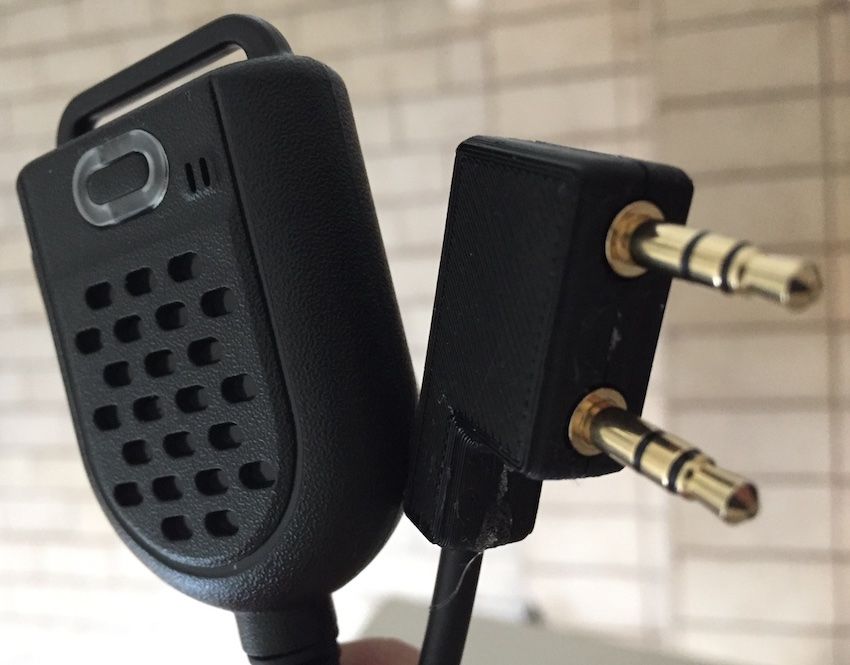
- Handheld Mini Speaker Mic for about 2$+shipping (prices have doubled by now). This handeld mic is really small - suitable when space matters, otherwise I recommend the bigger Baofeng mics.
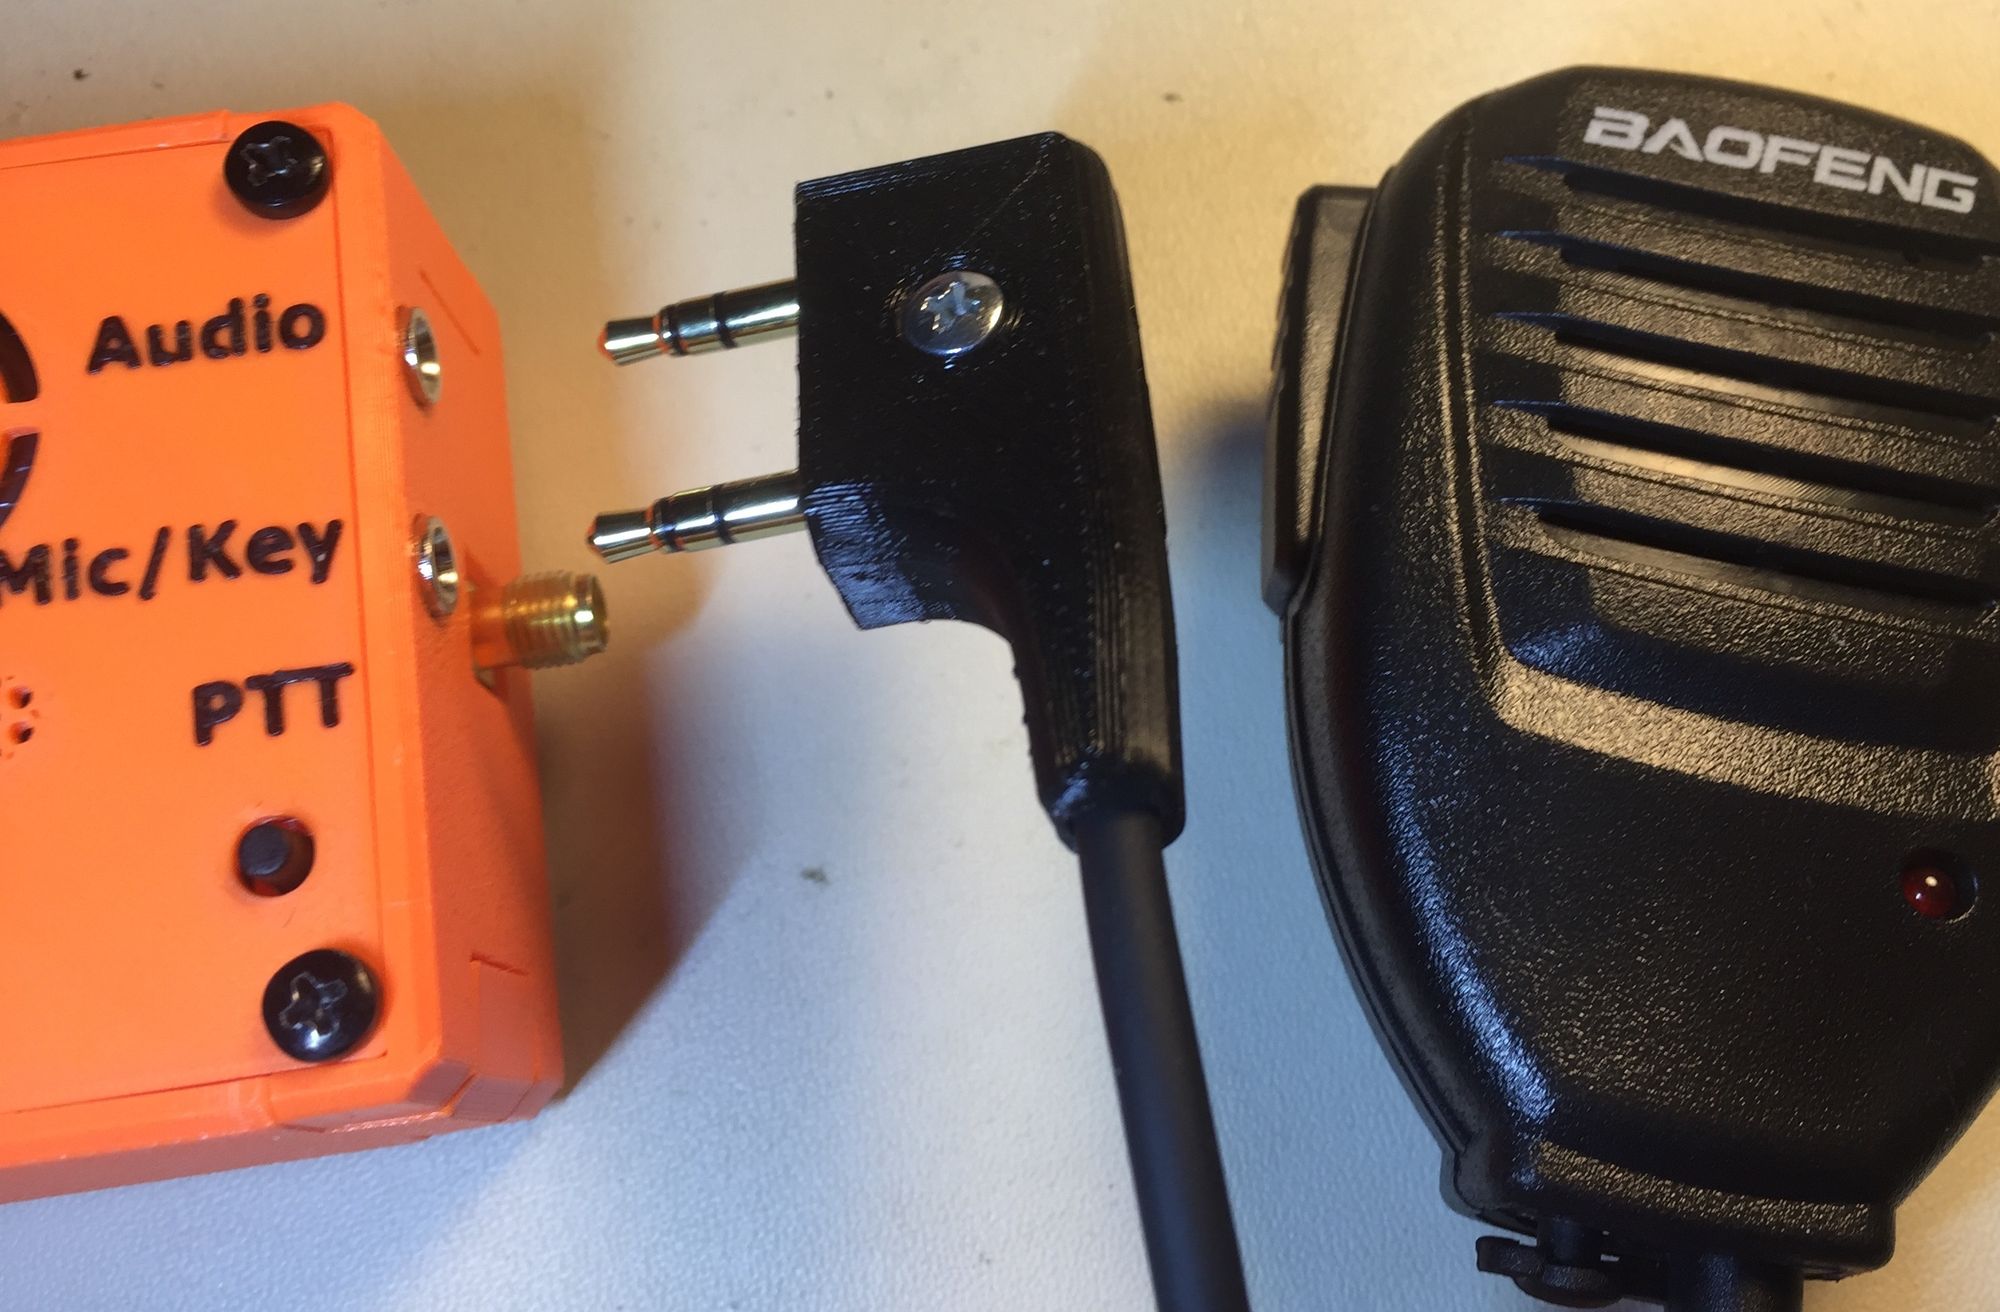
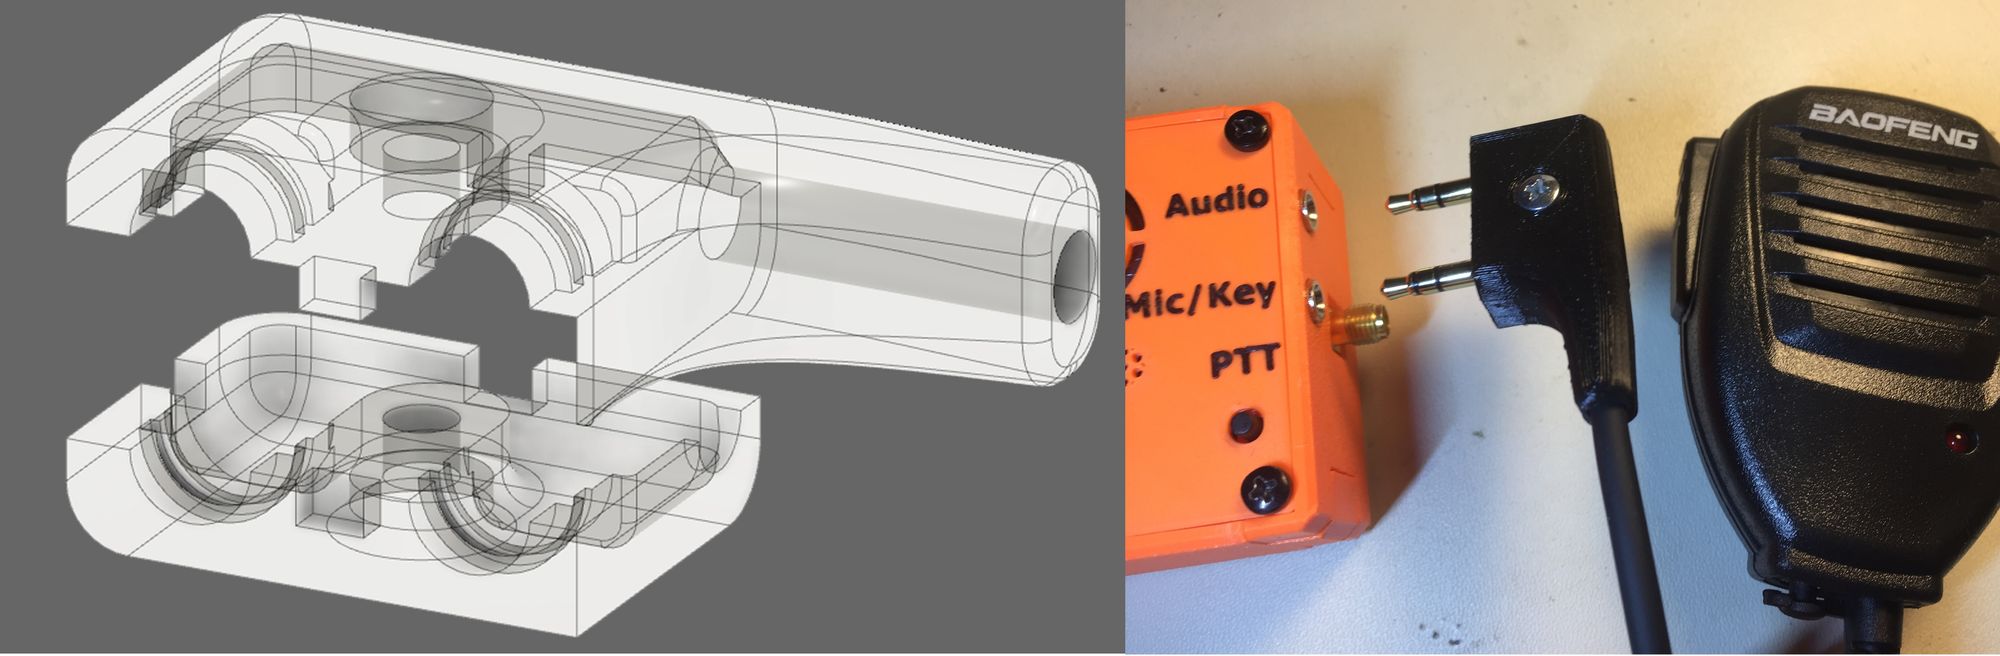
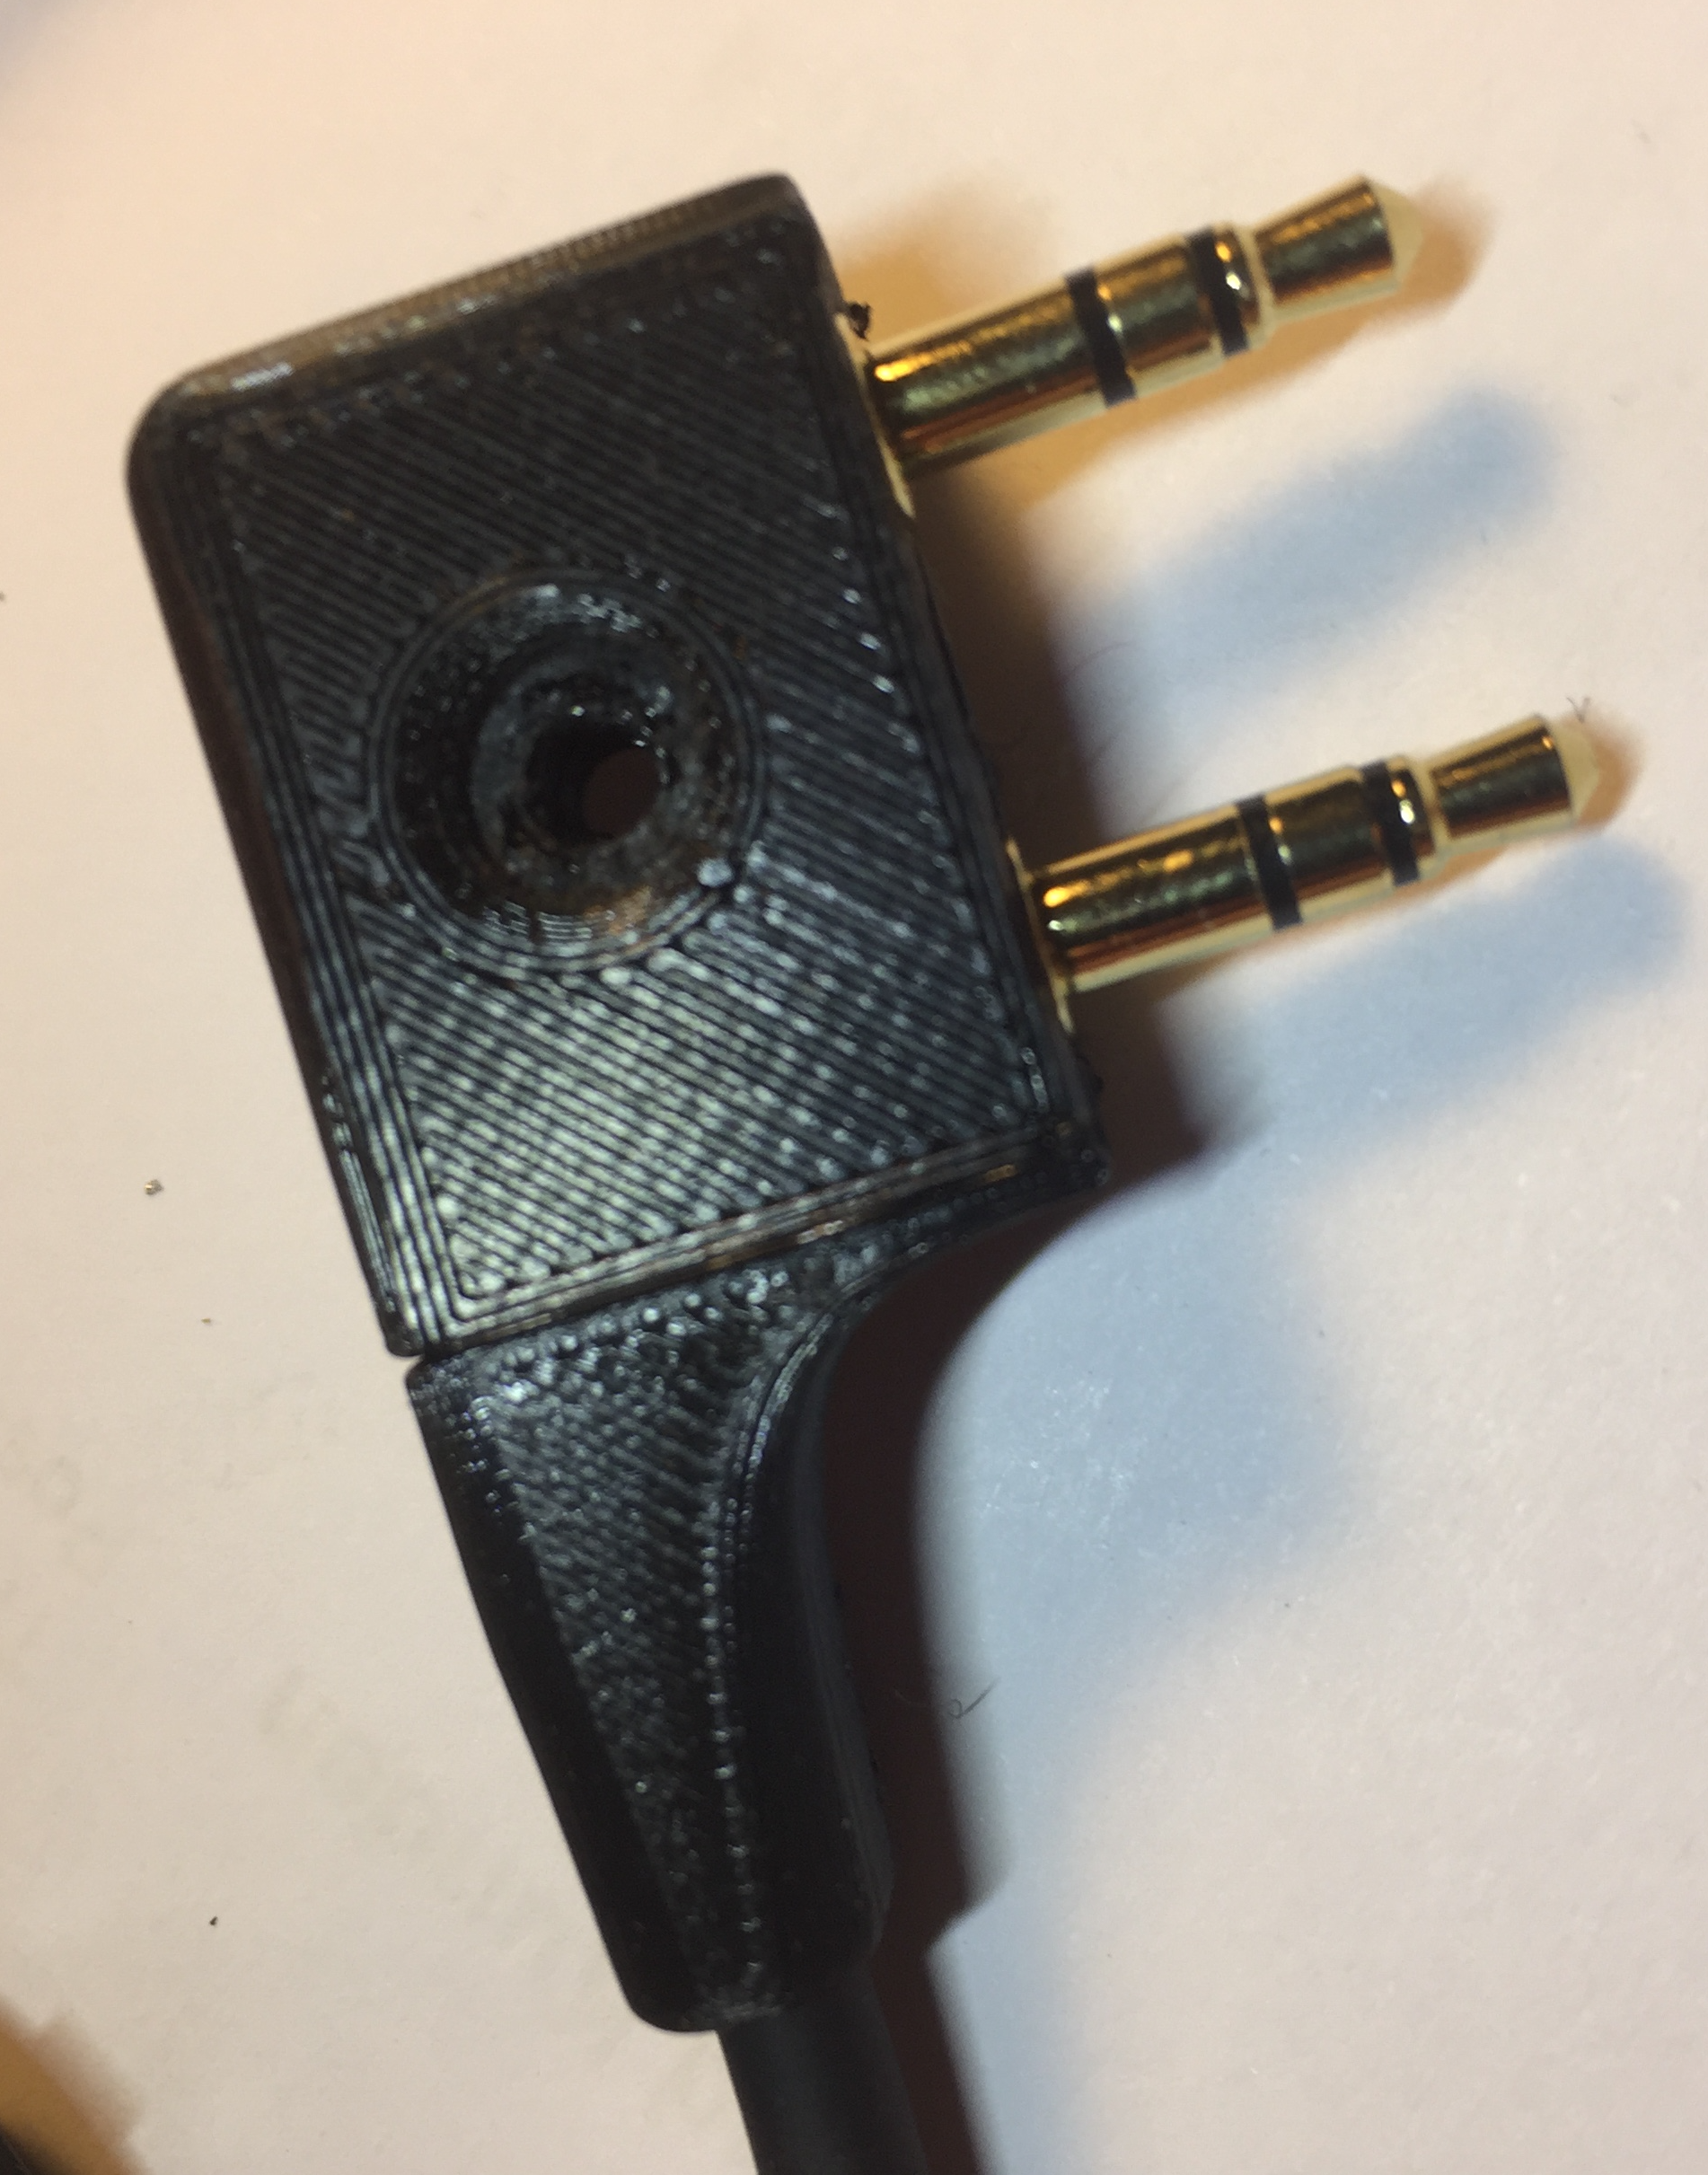
- 3D-printed plug (STL and Fusion 360 files can be downloaded below)
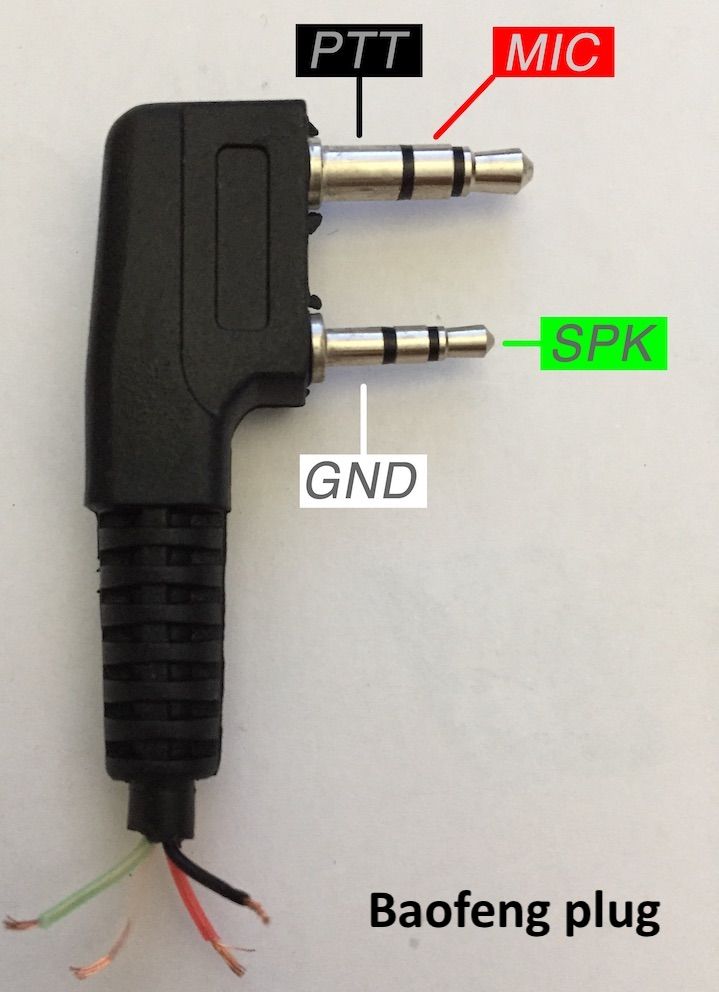
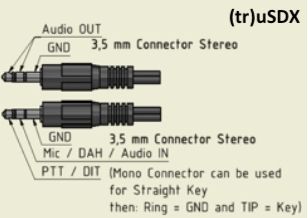
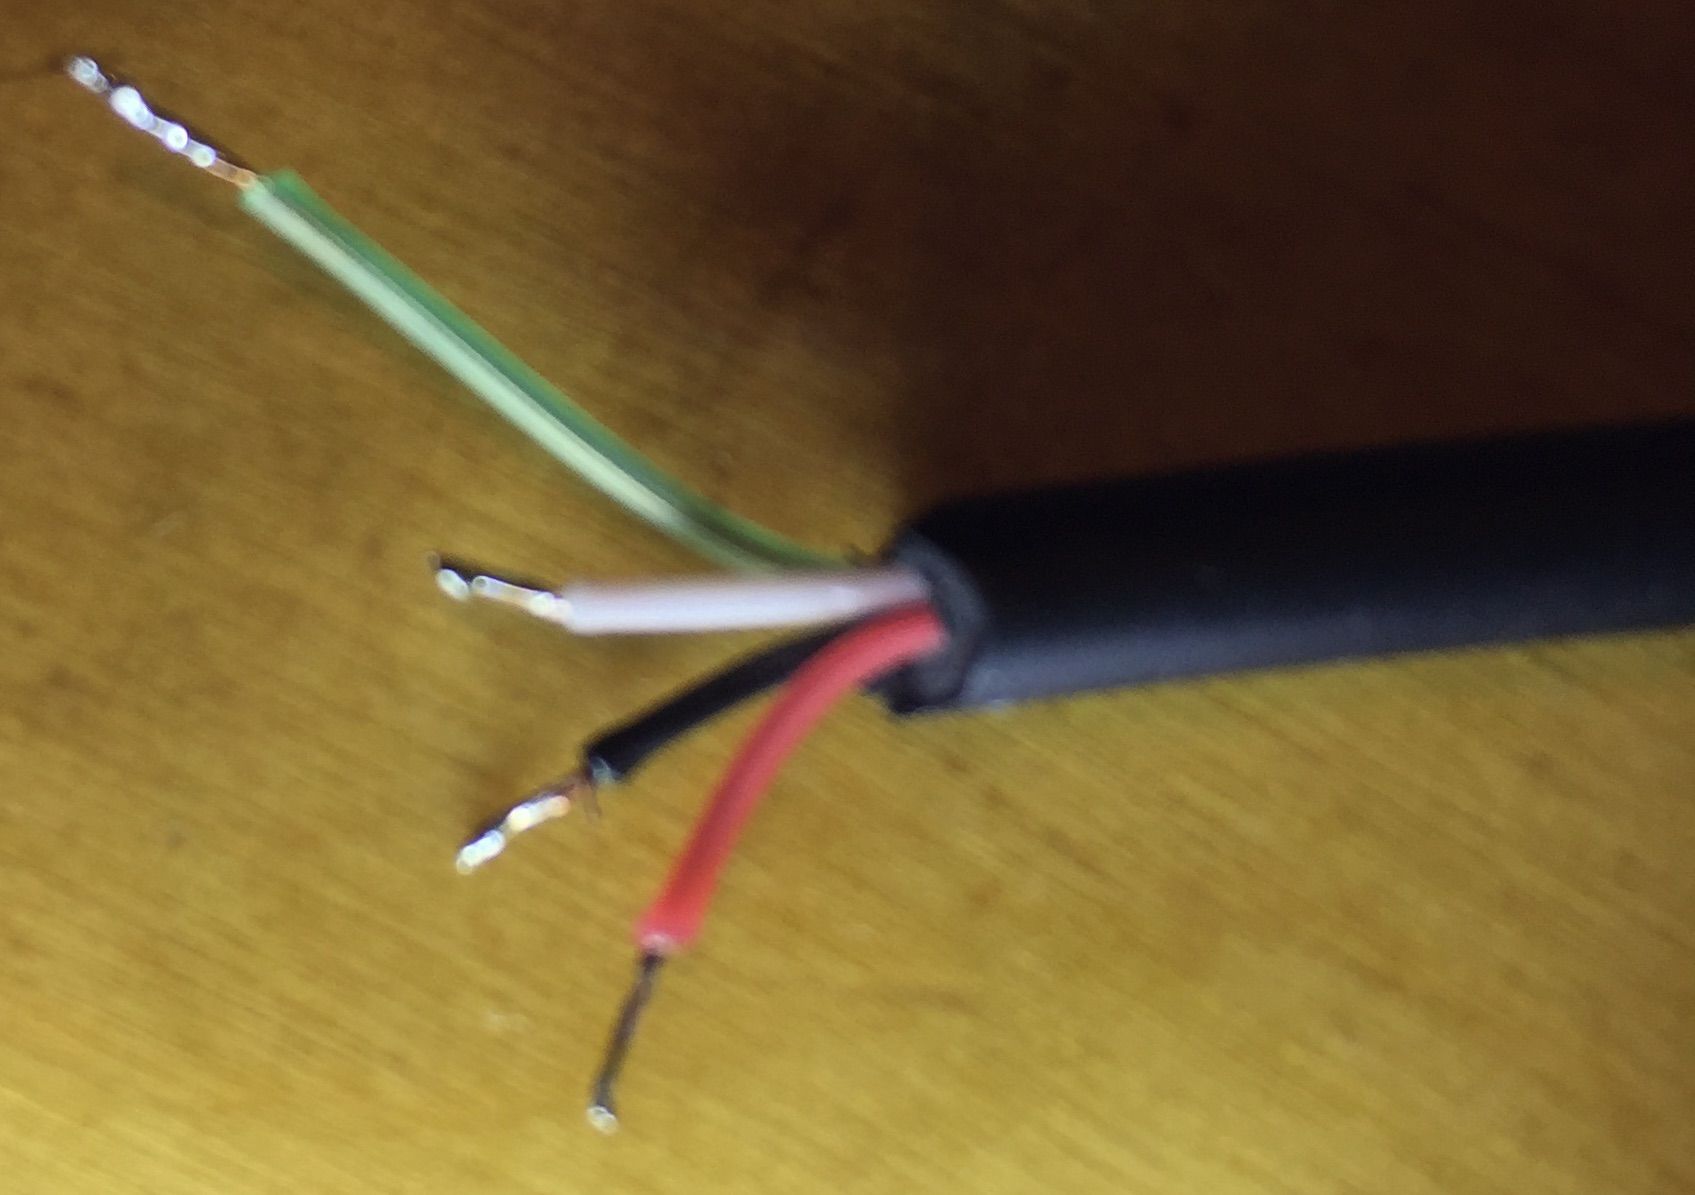
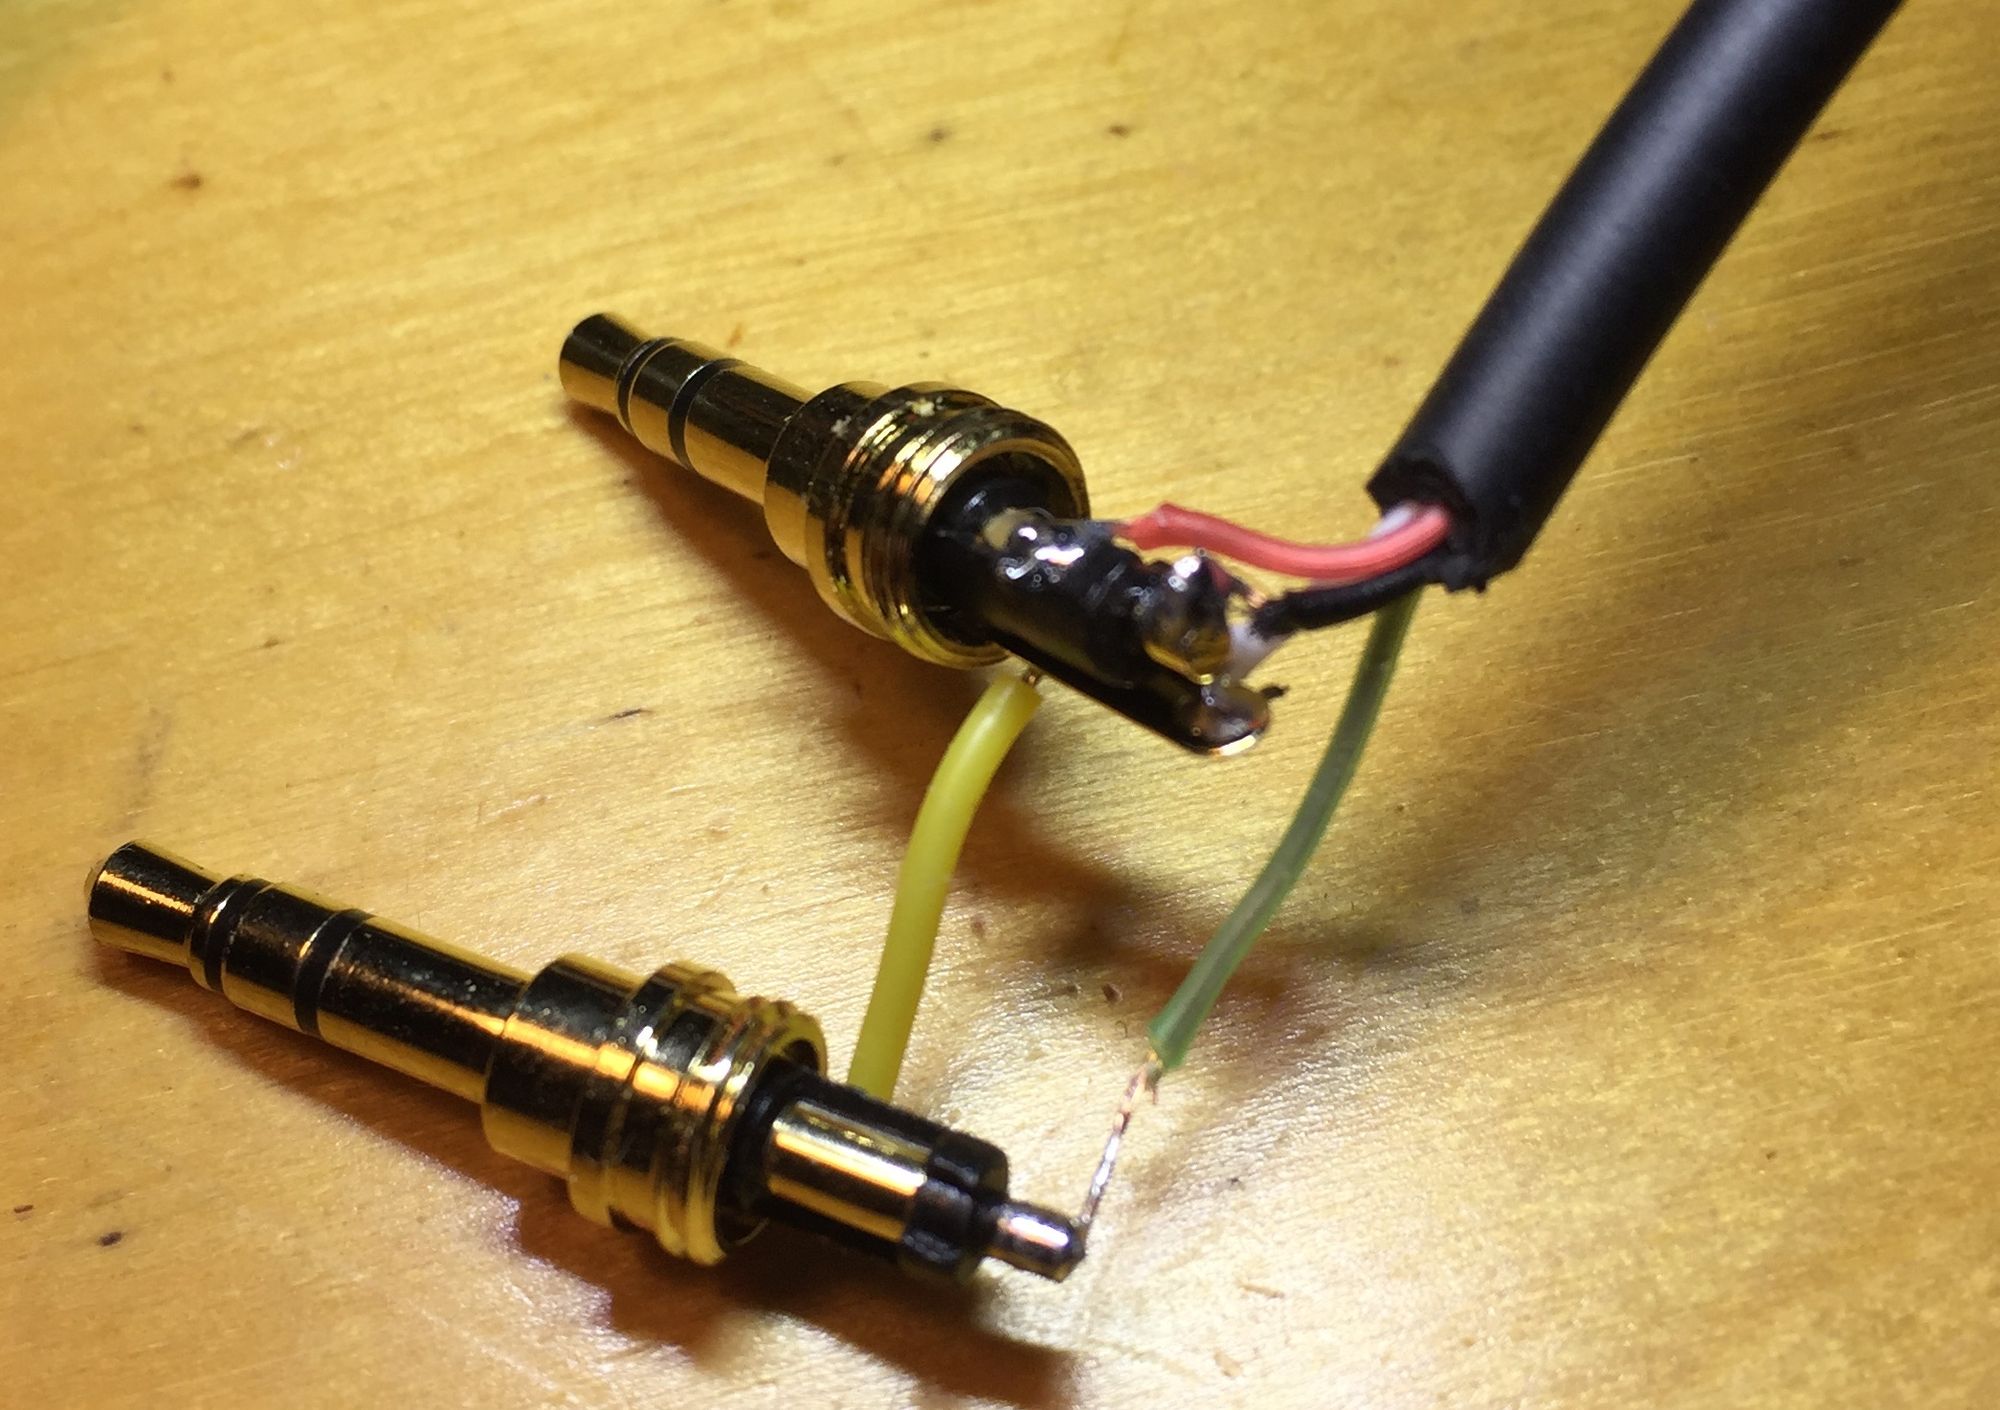
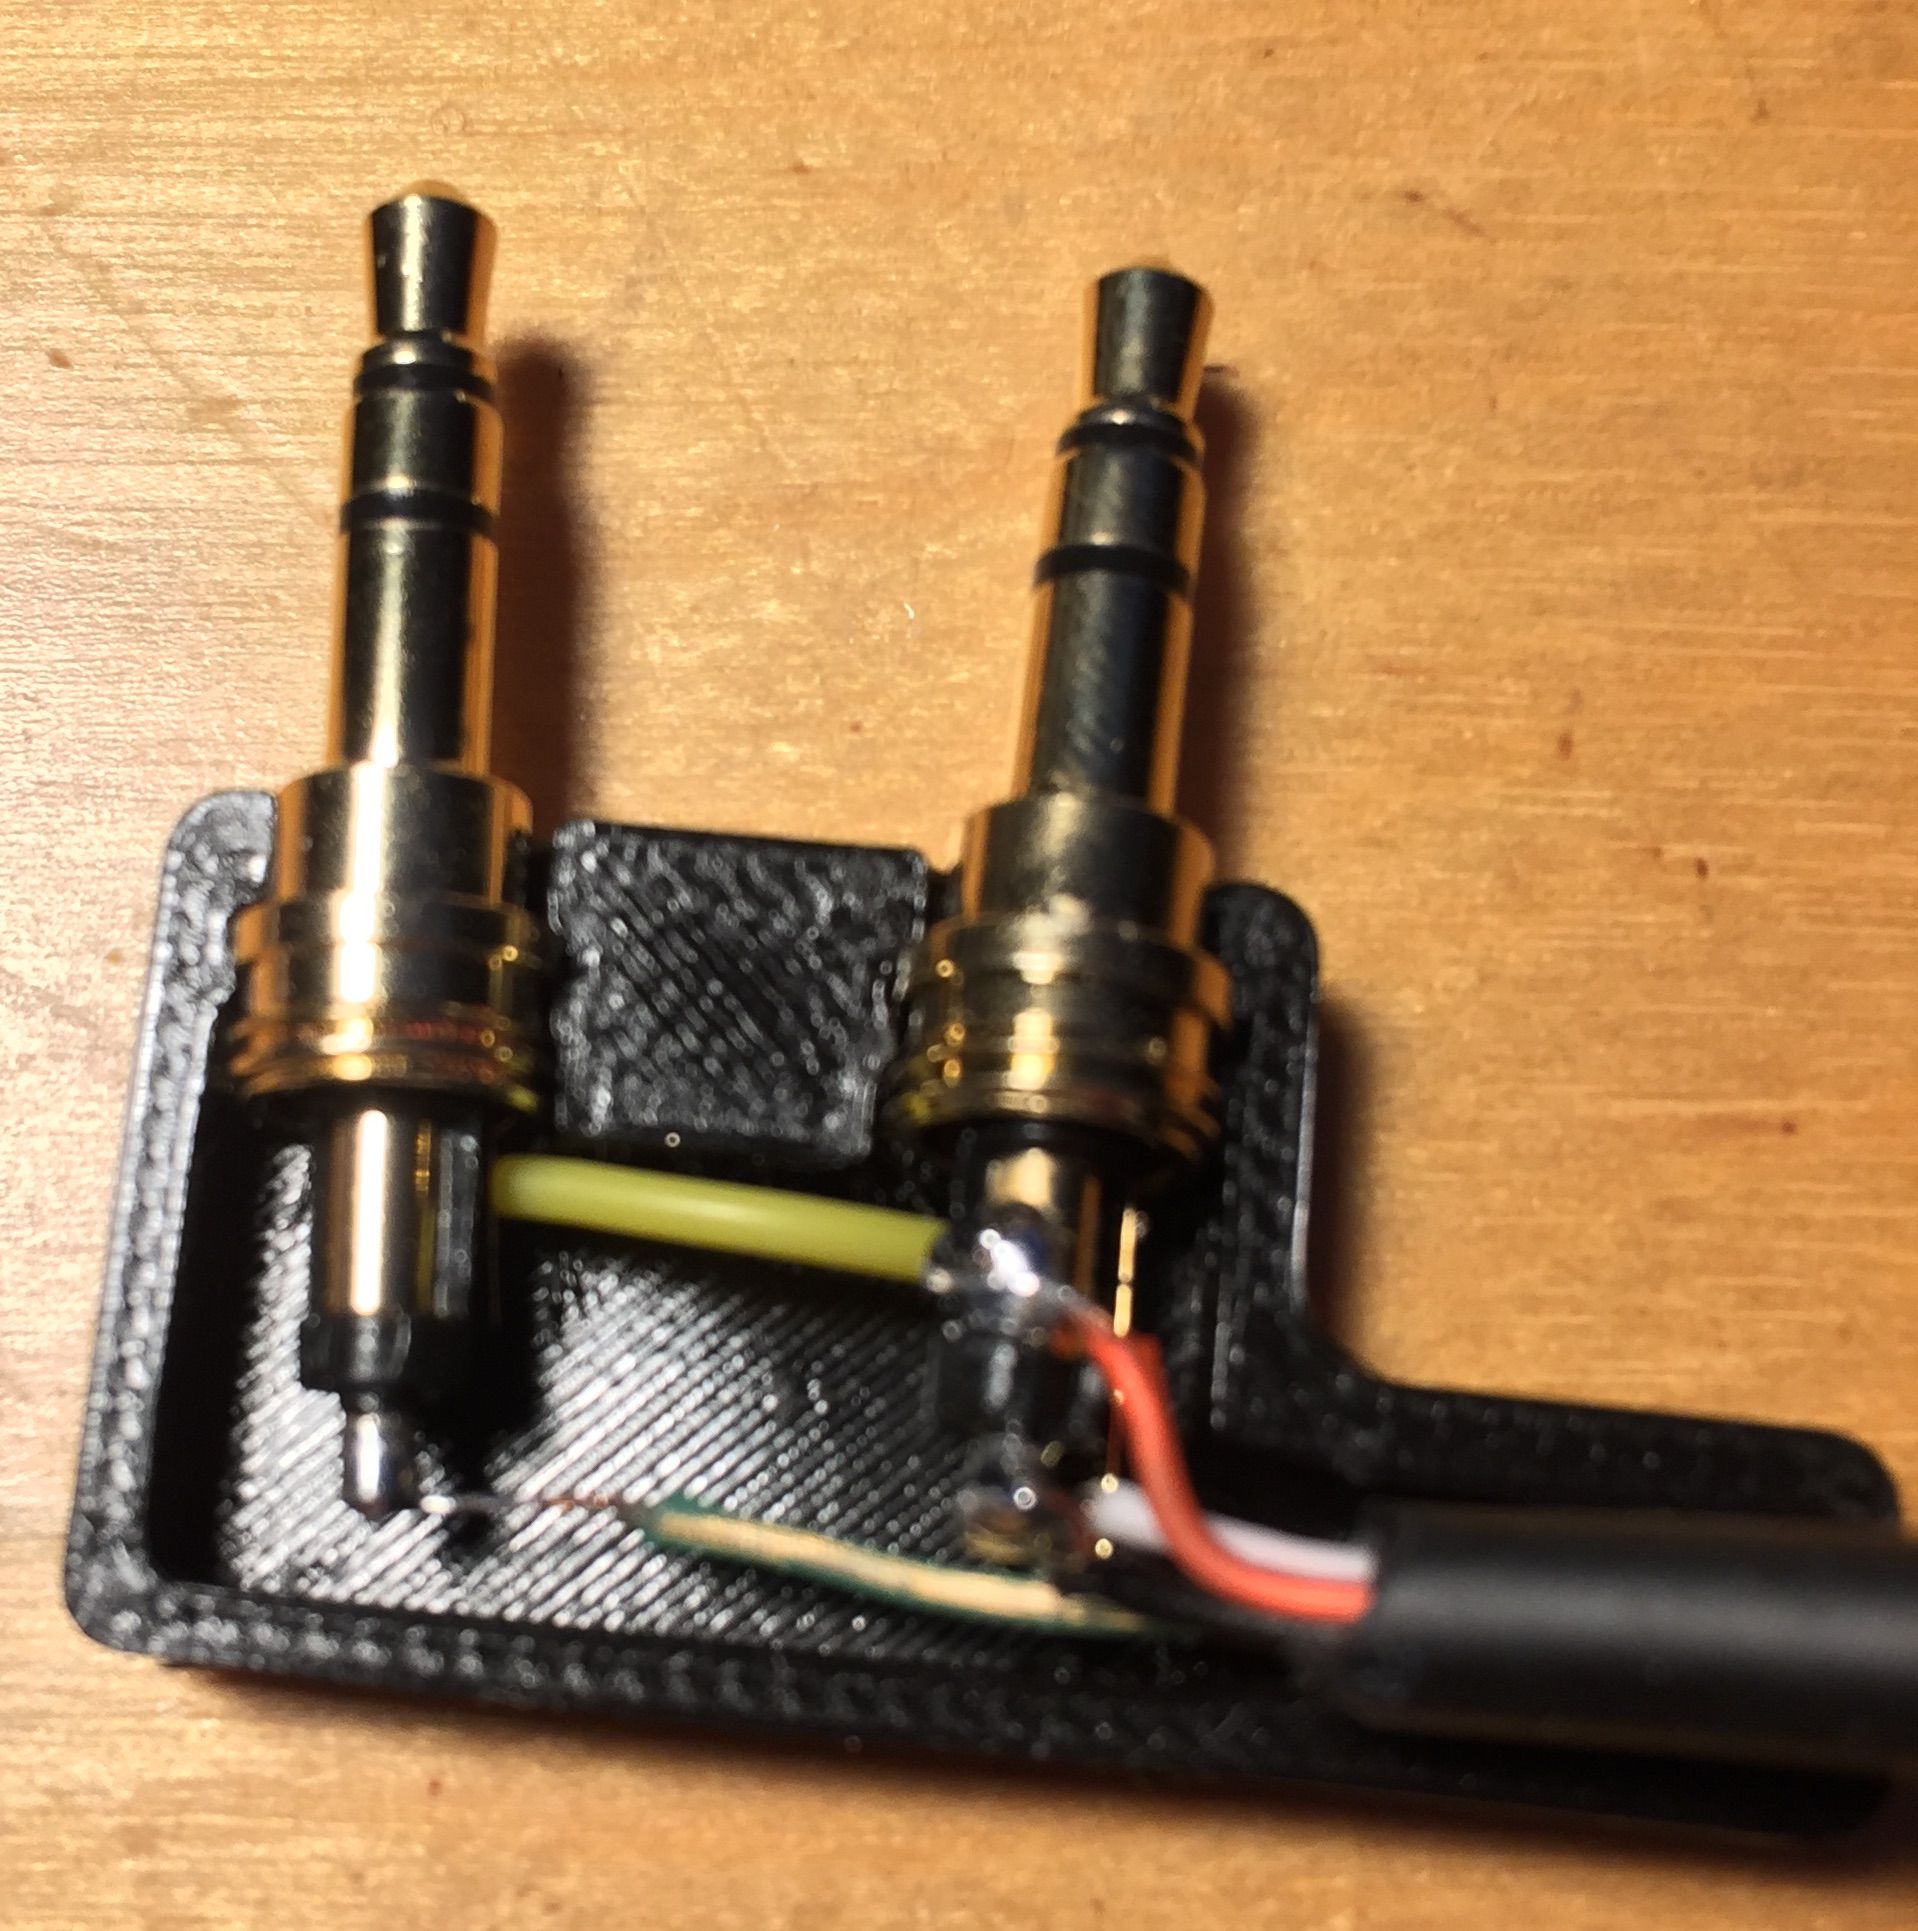
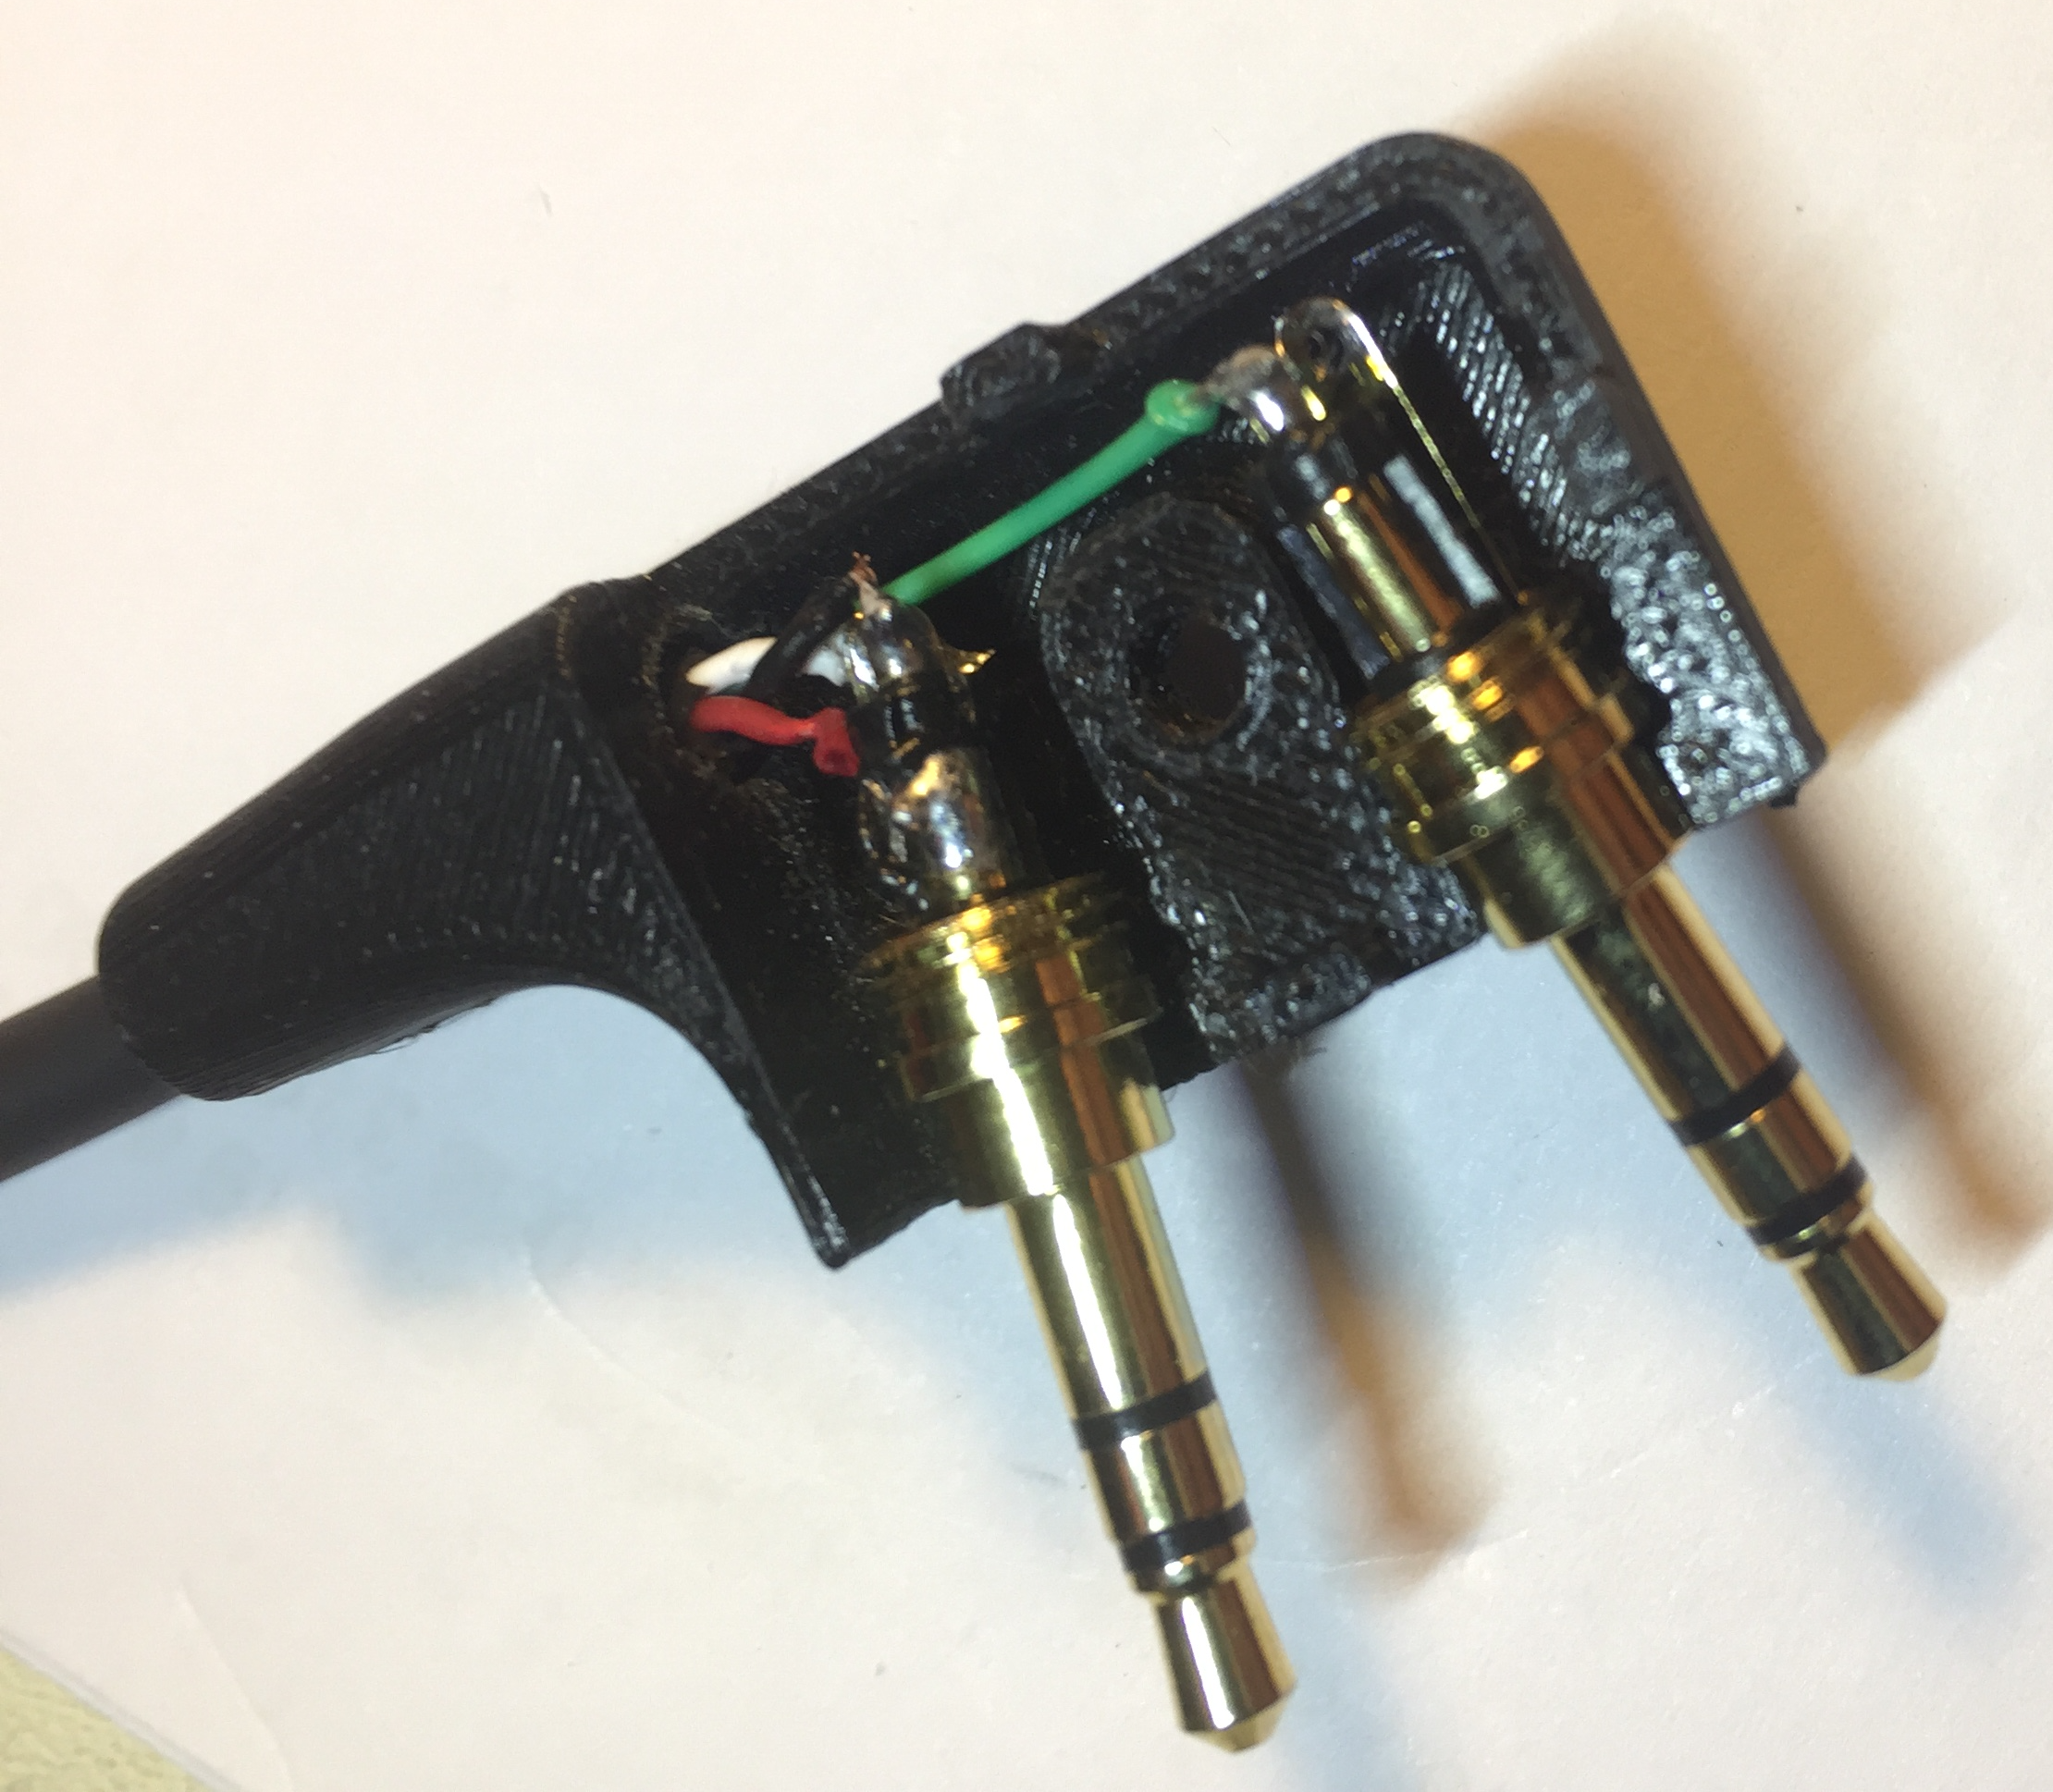
The wiring of the (tr)uSDX plugs is shown in the (tr)uSDX manual and in the picture gallery below. The Baofeng mic has four wires: SPK (green wire), PTT (black wire), MIC (red wire) and GND (white wire). These have to be connected with the two (tr)uSDX connectors (called top and bottom here), as follows:
| Baofeng | (tr)uSDX |
|---|---|
| SPKR | Top: Audio OUT |
| PTT | Bottom: PTT |
| MIC | Bottom: MIC |
| GND | Top, Bottom: GND |
Version 1
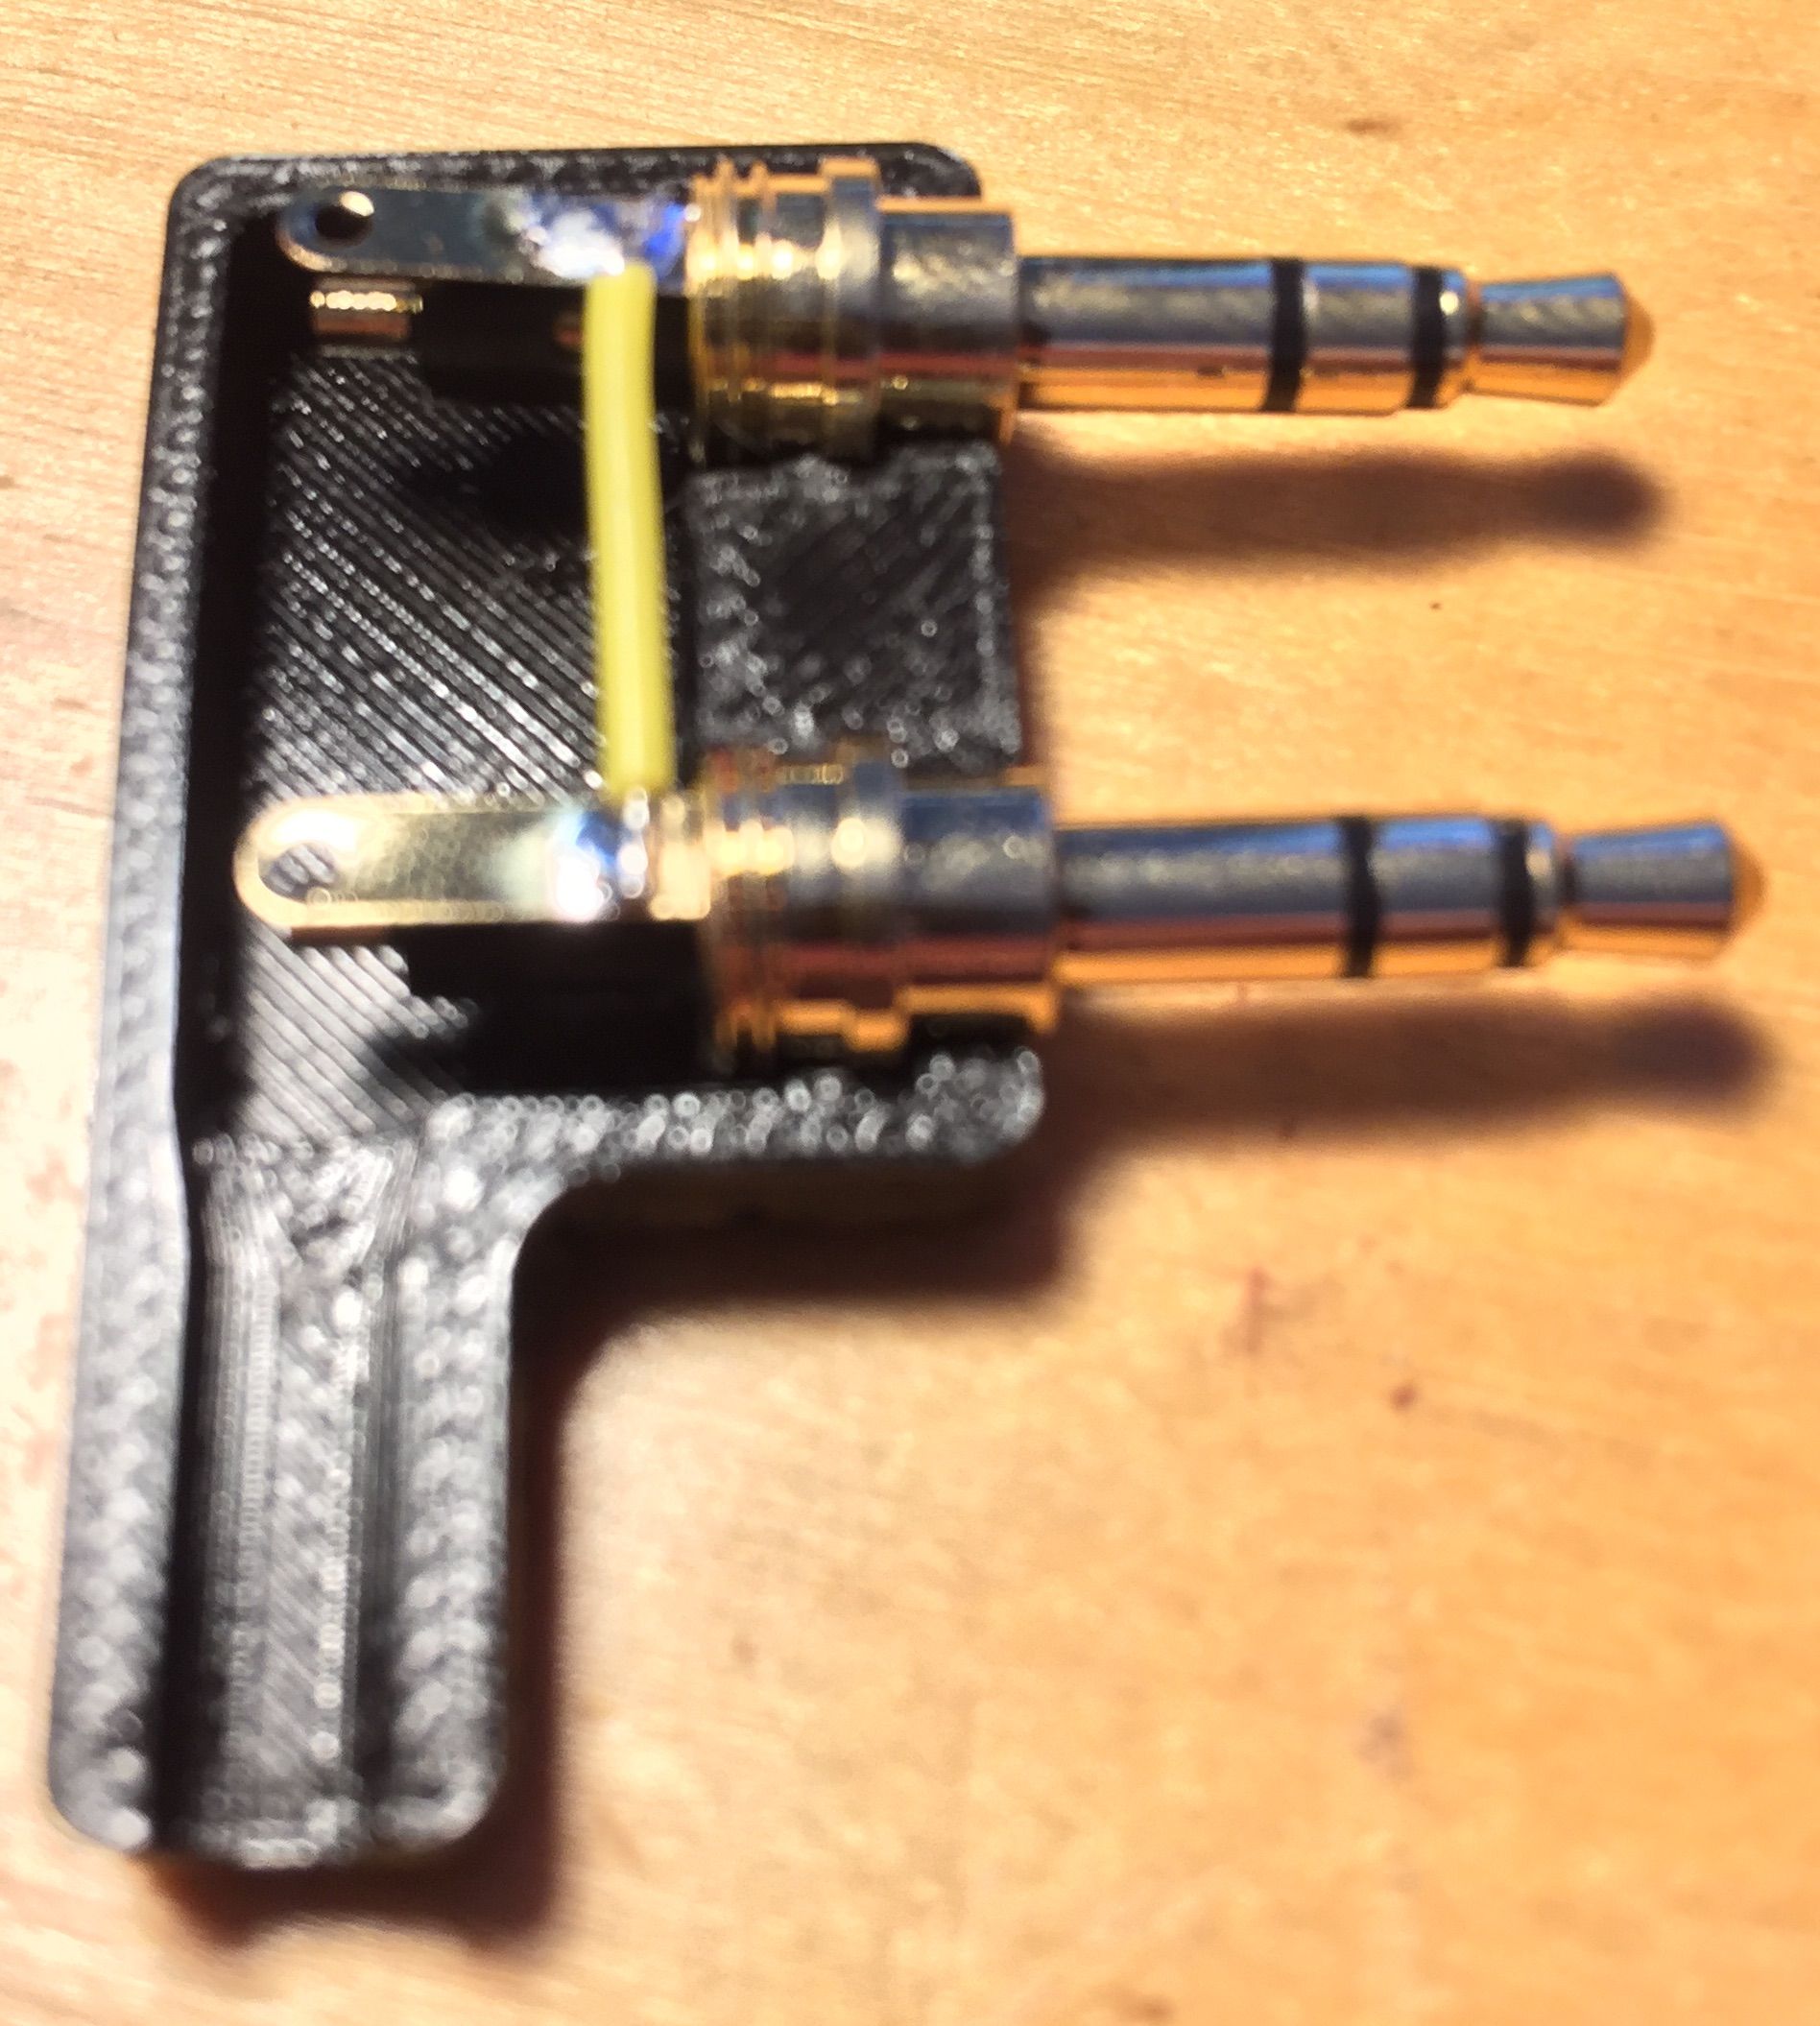
v1 3D-printed Plug
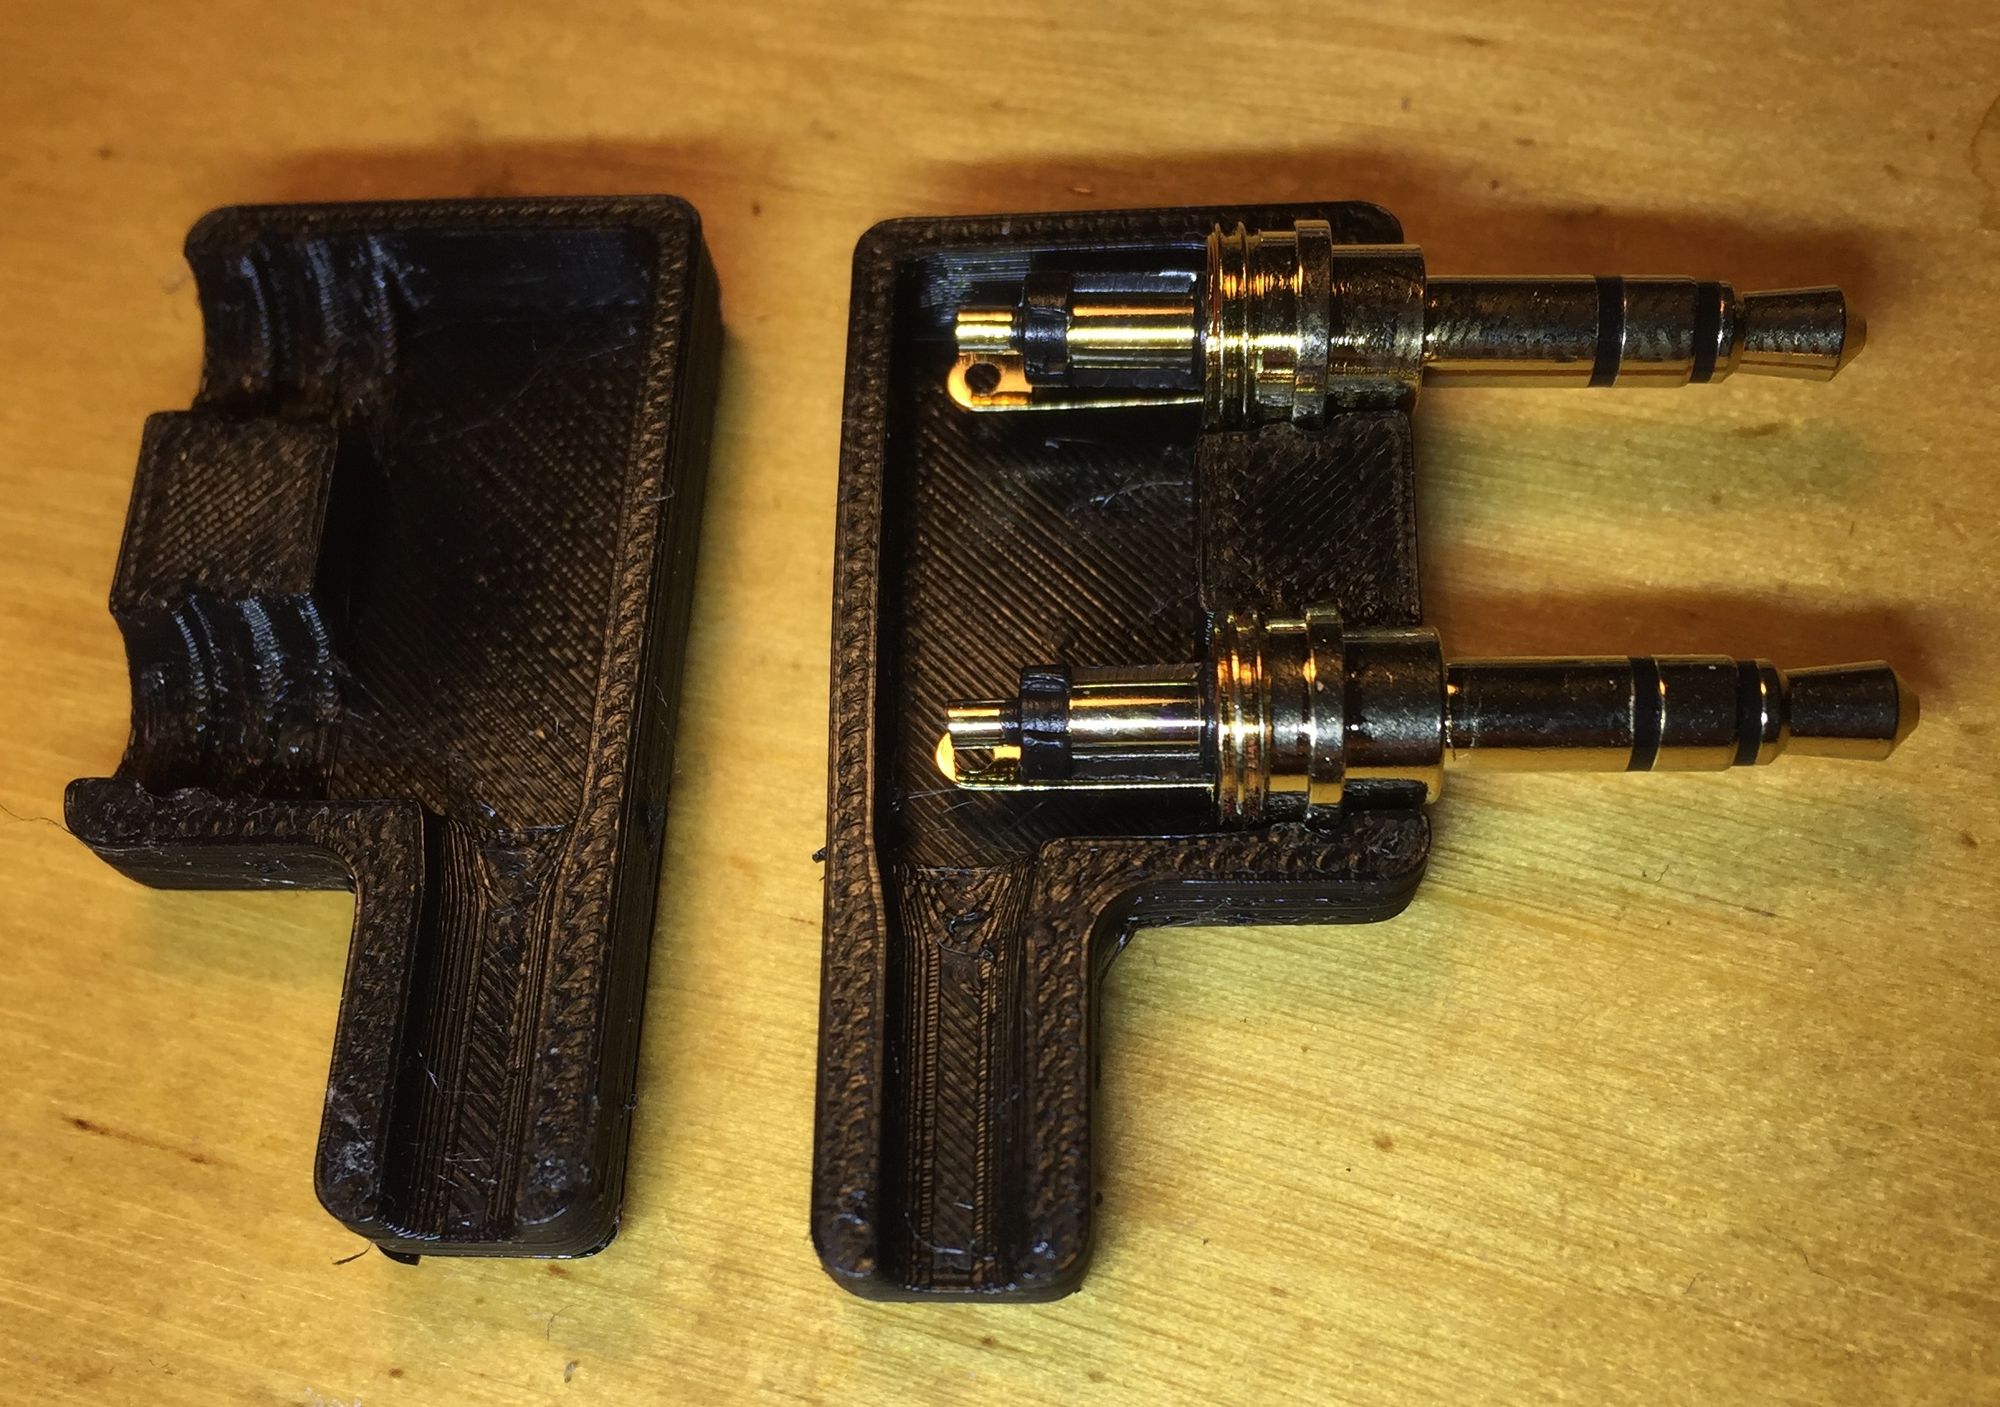
The files contain only one half of the plug. You need to create a second half in your slicer of choice - don't forget to mirror the second one.
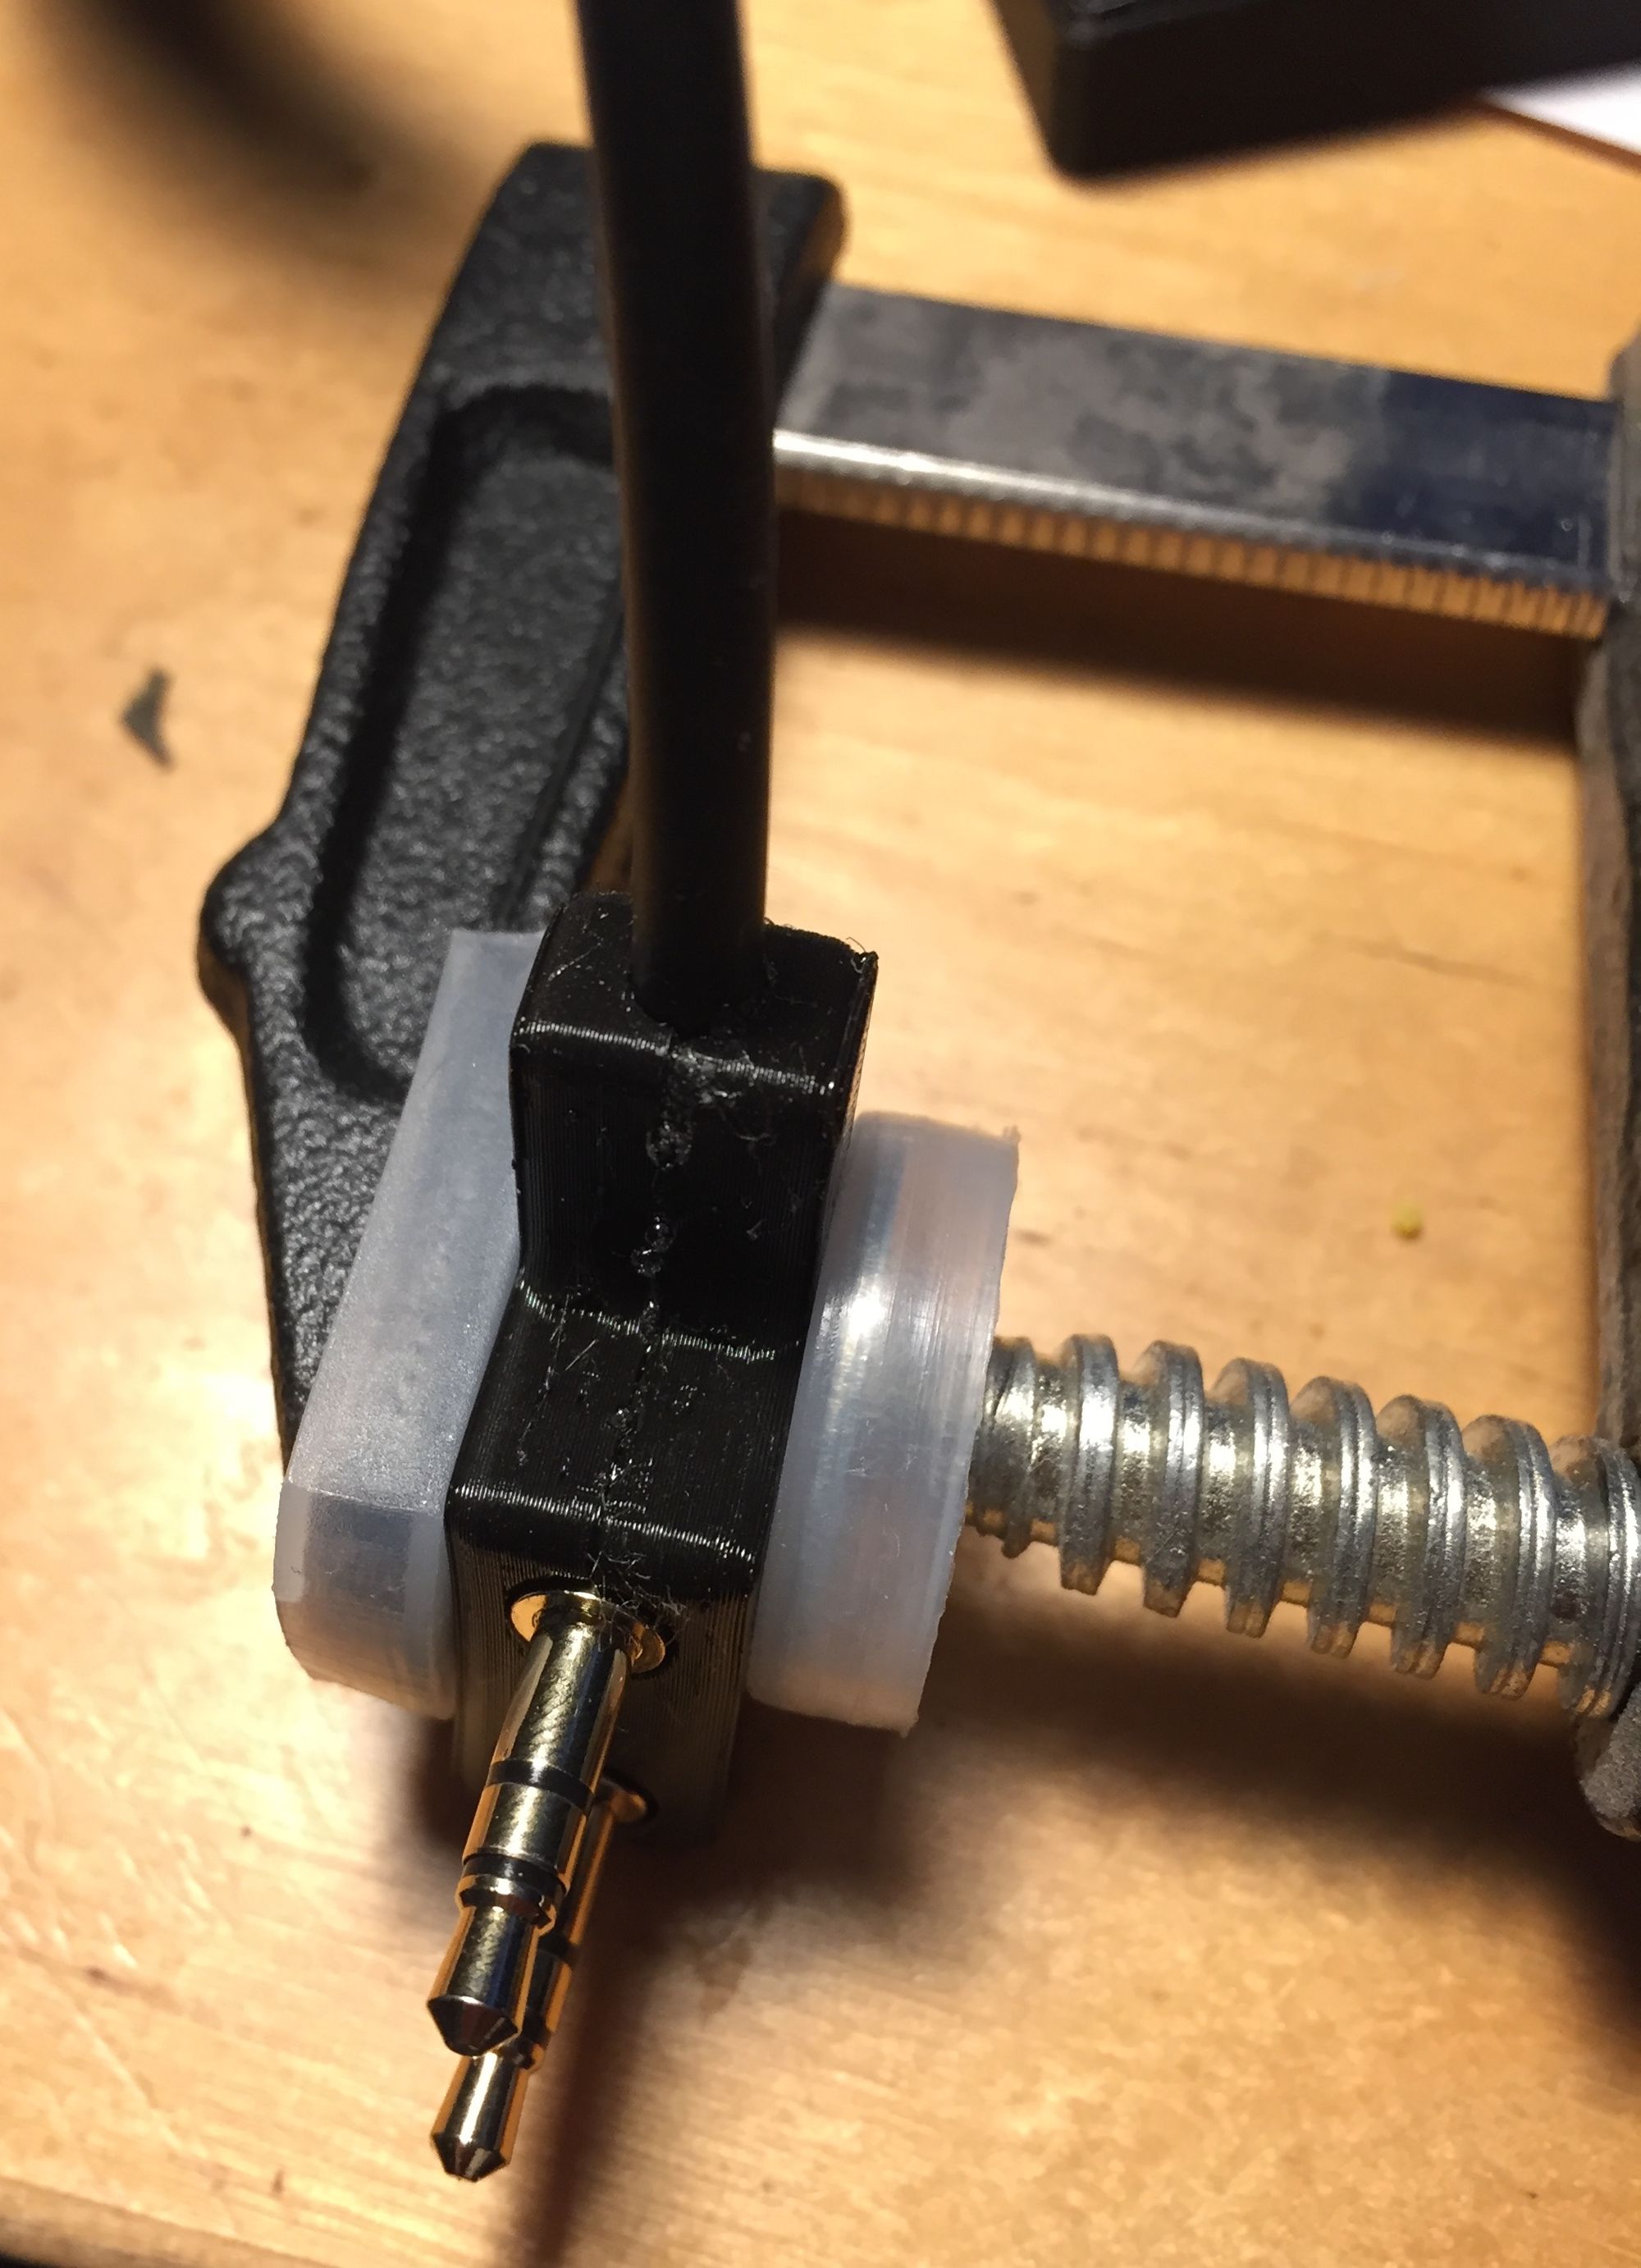
The plug fits very tightly around the 3.5mm connectors. I clamped the two halves with 3.5mm connectors inserted for a night - PLA is quite soft - that gave a very good fit. After testing the assembly everything was glued together. I used a clamp again while the glue set.

Version 2
Version 2 has two asymmetric halves that can be screwed together.

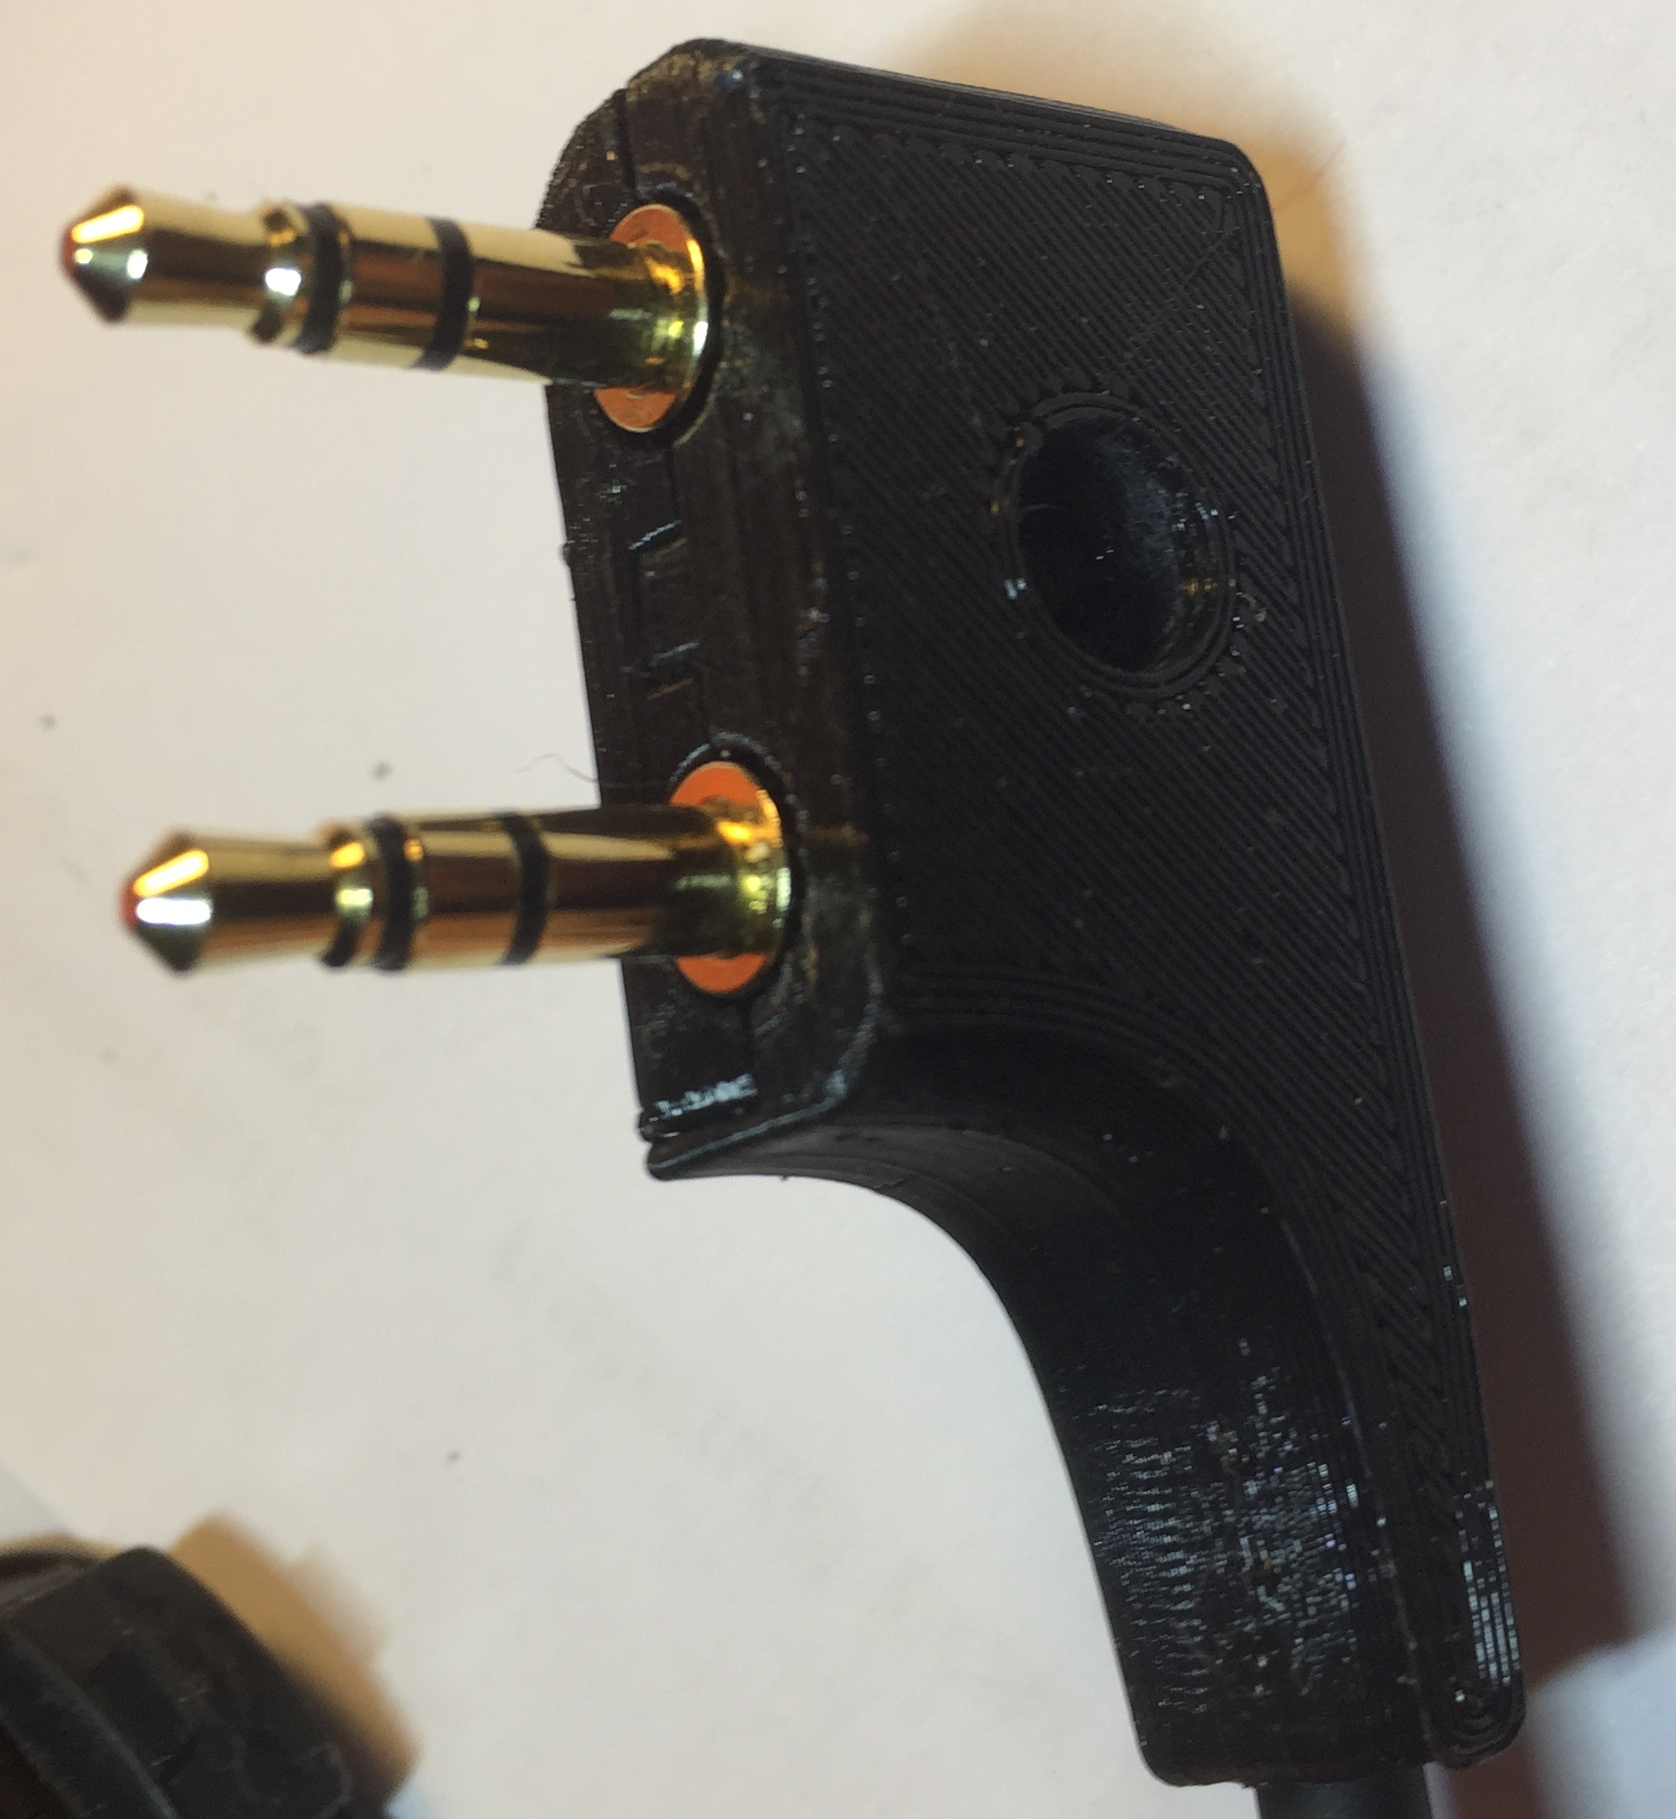
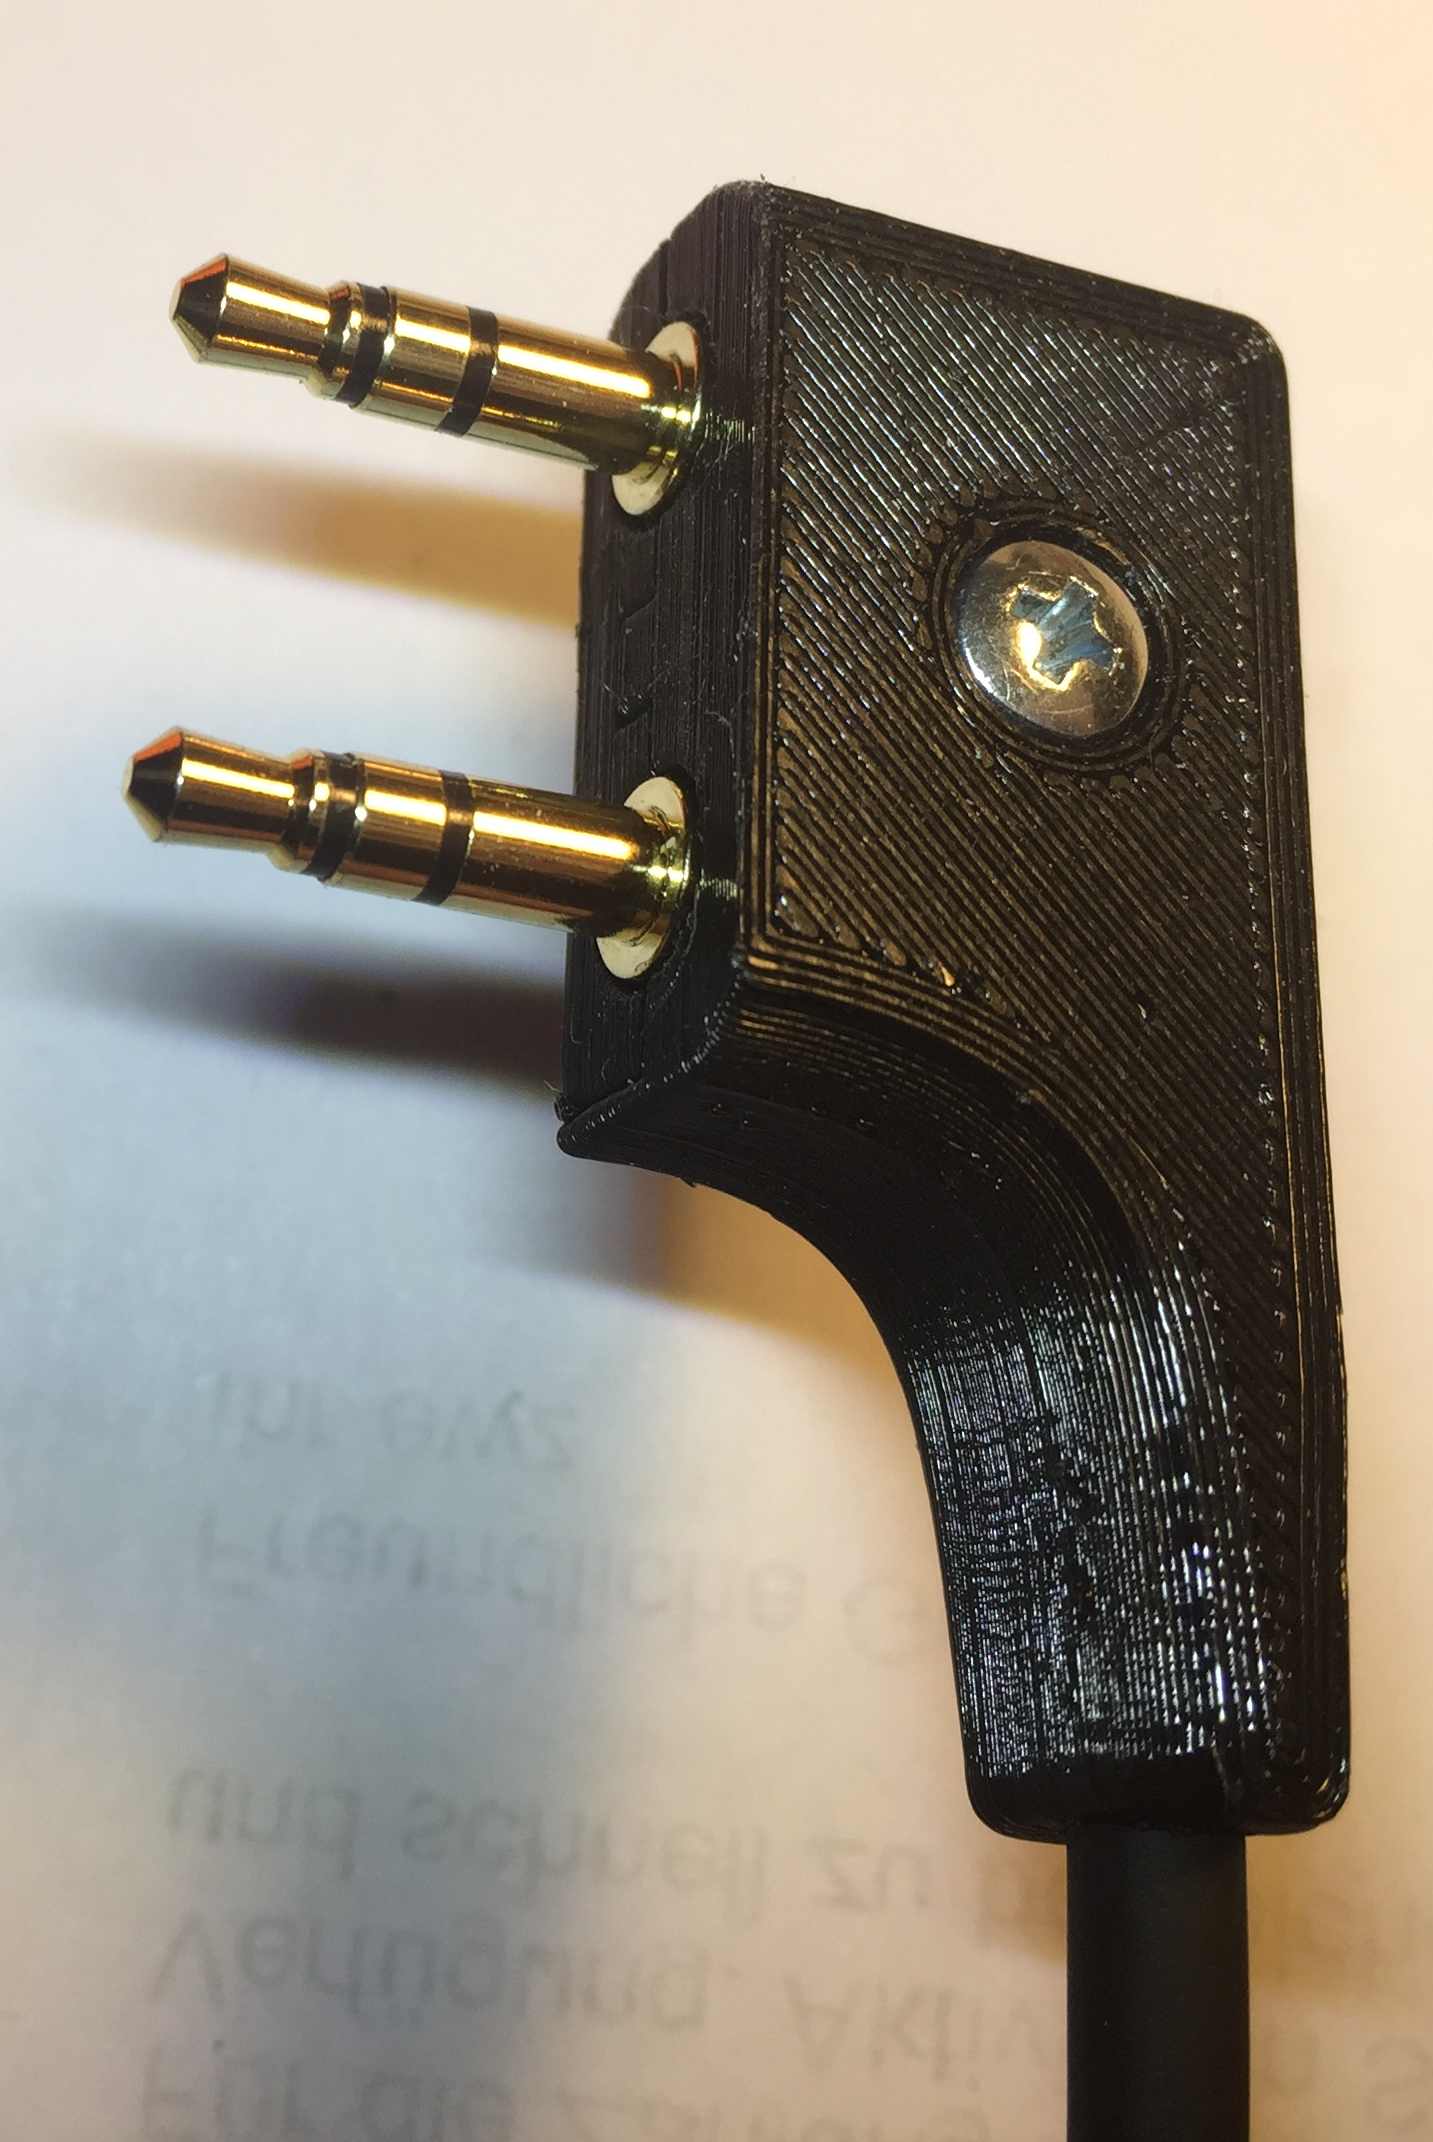

v2 3D-print
The STL files are also available on thingiverse.
Sources
- Modifying a Cheap Baofeng Speaker Mic for (tr)uSDX Use by WA2T
- Making Boafeng UV-5R Data Cables by Gordon Gibby KX4Z
Unless otherwise noted all content in this post is licensed CC BY-SA 2.0.
